Imagine this: You're out riding one day, you're miles from home, and you start to get low on gas.
You pull up to a gas station, insert you key into the tank...and it doesn't turn.
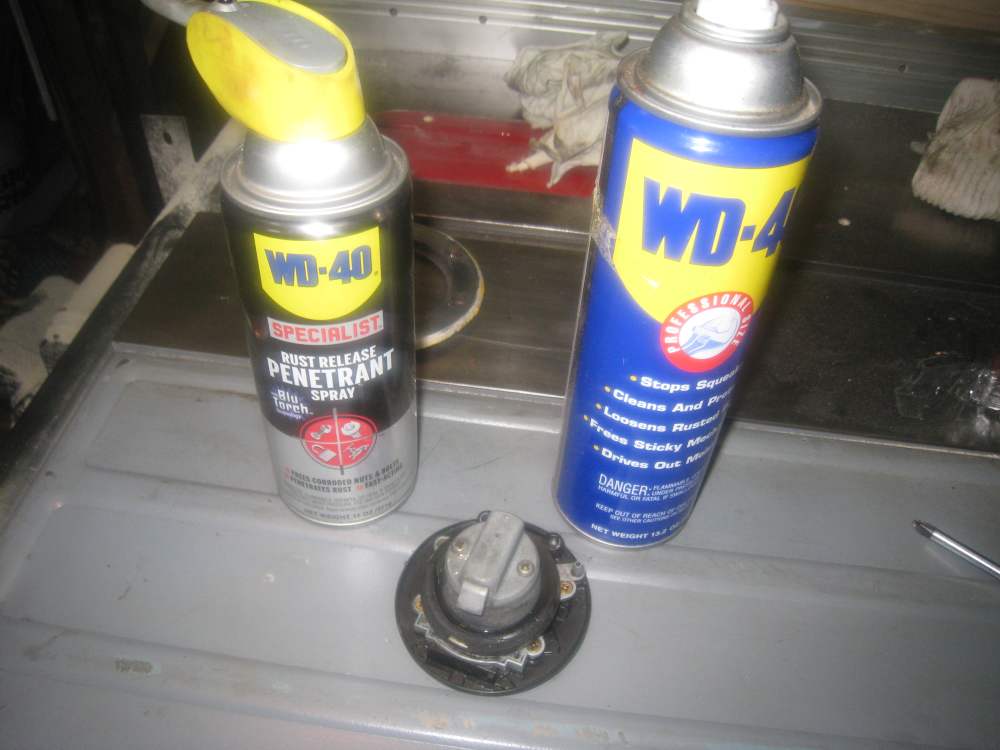
You squirt half a bottle of WD40 into the keyhole, but nothing works.
What do you do?
After it happened to me, I was surprised by how many other people had the same thing happen. A few days ago, a friend asked me for advice when it happened to her. The next day, on my second bike as I opened the tank, the thought occurred to me that the key wasn't turning quite as smoothly as it once did. I decided to go through the procedure again on this bike to avoid being stranded again, and take lots of pictures to help my friend and anyone else who wanted to keep their lock in good mechanical condition.
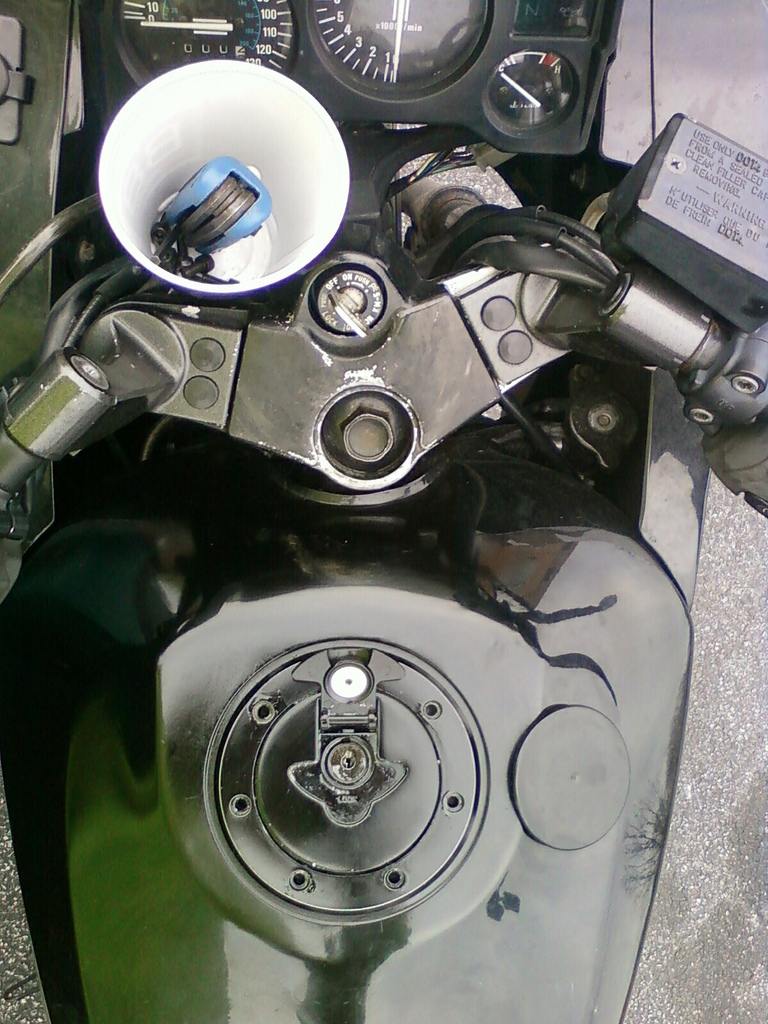
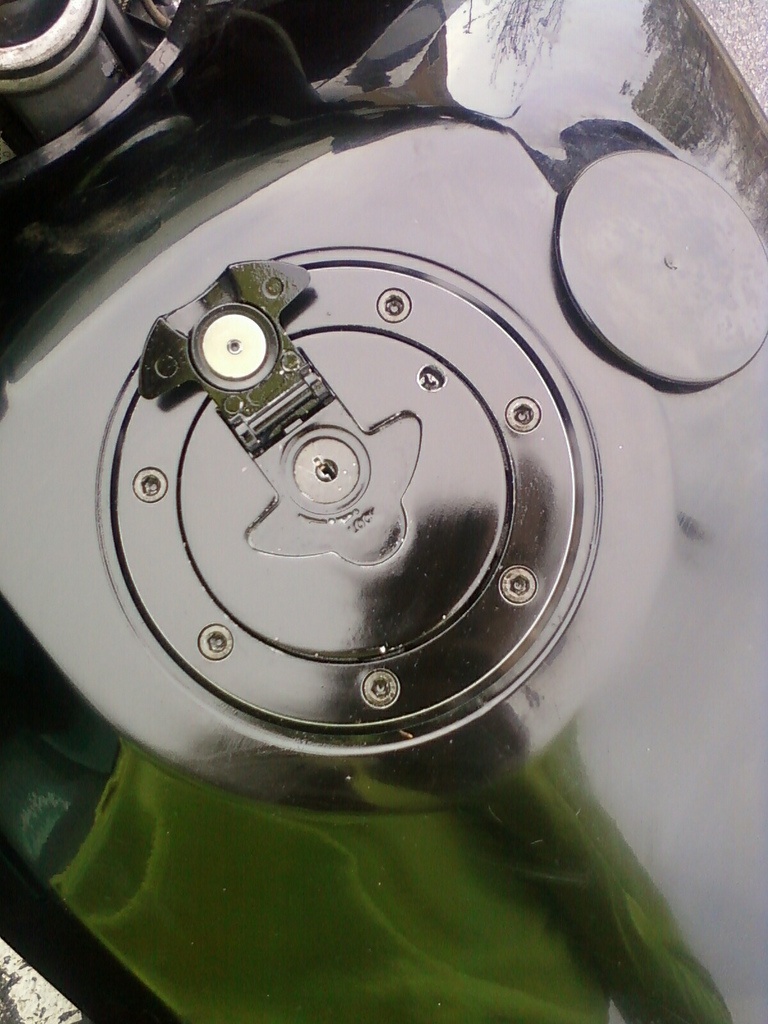
The black motorcycle is my 2005 Kawasaki Ninja 250--the one on which I got stranded. I'd taken a few pics at the time, but not too many.
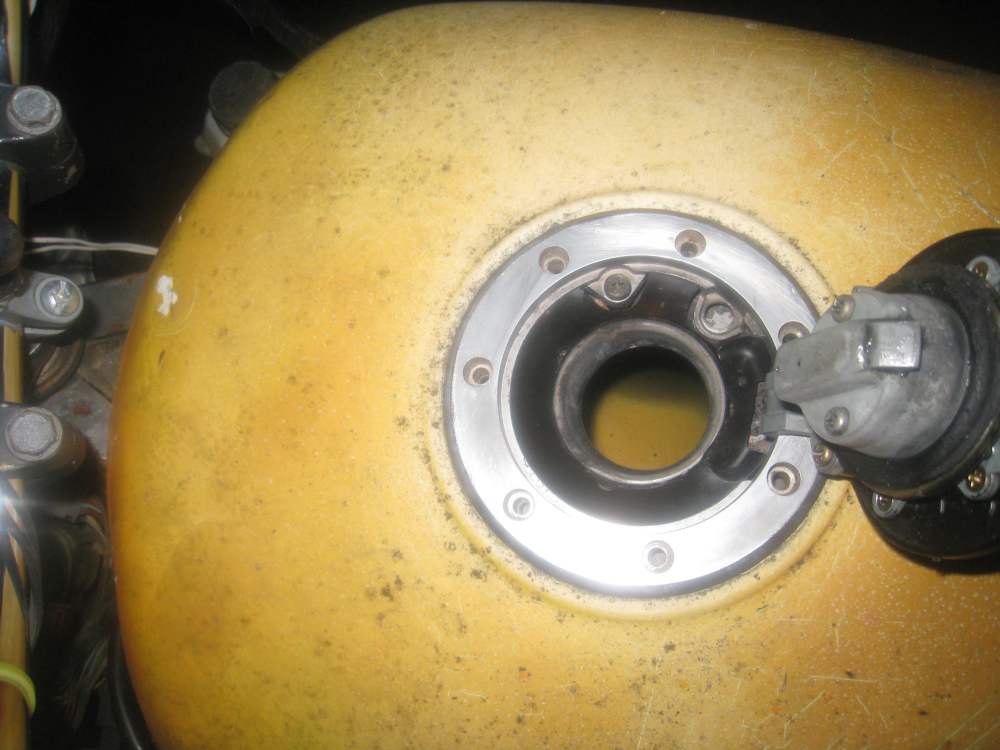
The orange one is my 1995 Kawasaki Ninja 500. The lock was just starting to get sticky, but it still opened.
The issue seems to happen mostly on bikes stored outside. How often they are ridden (and therefore, the tank opened) doesn't seem to make much difference.
I'll also mention three important things if you find yourself stuck and unable to open the gas tank lock:
#1: Because of how the lock drains rain, spraying a penetrating lubricant into the keyhole won't fix your problem. I sprayed half a can in my first one, only to find the corroded parts completely dry. The lube just won't go to the problem part.
#2. Be absolutely positive you have (and know the location of) your spare key before you try to force the lock open. Keys snap pretty easily, even just from extended periods of jiggling.
#3. Although the application of heat can work wonders on stuck nuts and bolts, it is NOT recommended you point a blowtorch at your gas tank.
Step 1.
If you're doing preventative maintenance, skip the first two steps and go to step 3. If you're stuck, here's what you need to do on a pre-gen Ninja 250 or Ninja 500R.
Remove the allen bolts around the tank cap. Try not to lose them.
Step 2.
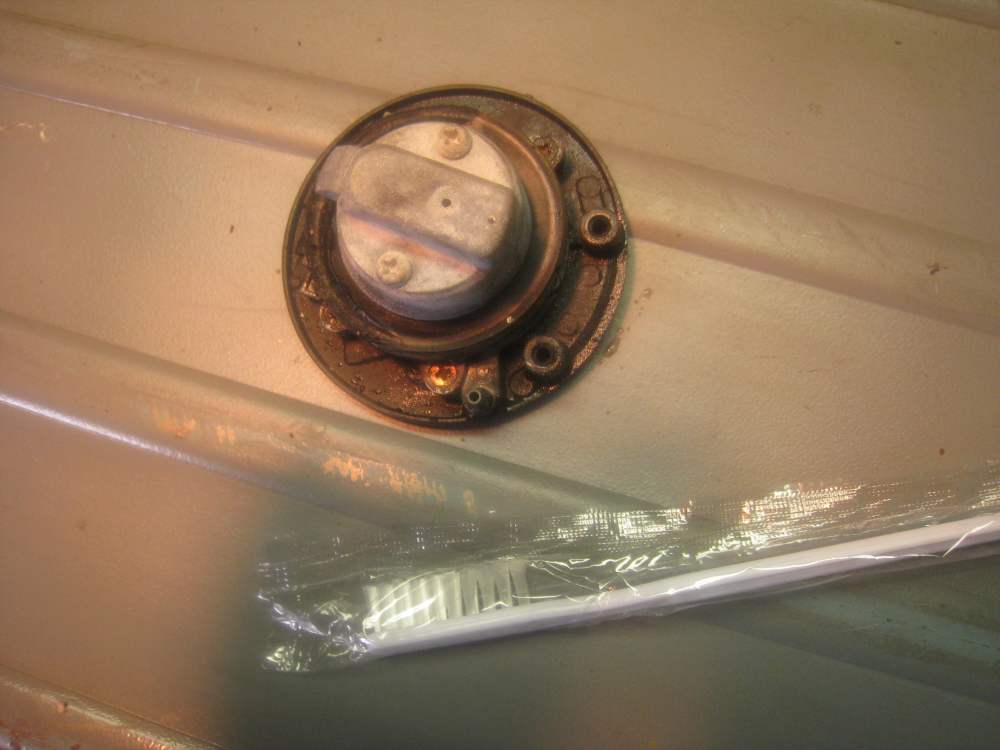
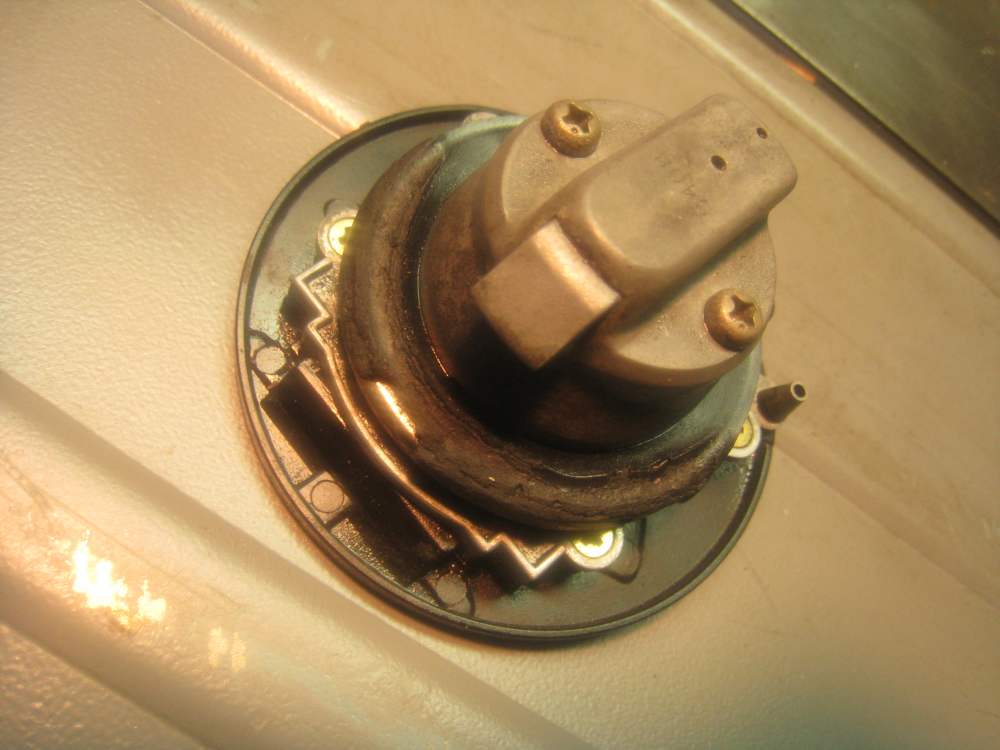
There is one more screw preventing you from removing the cap, and it's underneath the cap. You need to drill a hole to access it. The hole won't effect anything. It's above the gasket that keeps water from entering the tank, so there's no need to seal it back up when you're done or anything. In fact, if you do ever have it happen again, you'll be glad you only need to screwdriver and an allen wrench from your toolkit to fill up and get home.) The hole goes in about the 2:30 position. Study the pic carefully so you know where to drill. Leave the key in the lock while you drill or put a bit of tap over the keyhole as you do not want to get any metal shaving in there. You just need a hole big enough to get a Phillips screwdriver in there. If I remember correctly, you don't even need to make it big enough to pull the screw through it--you just have to loosen it all the way.
Here is where I drilled the hole on the Ninja 250:
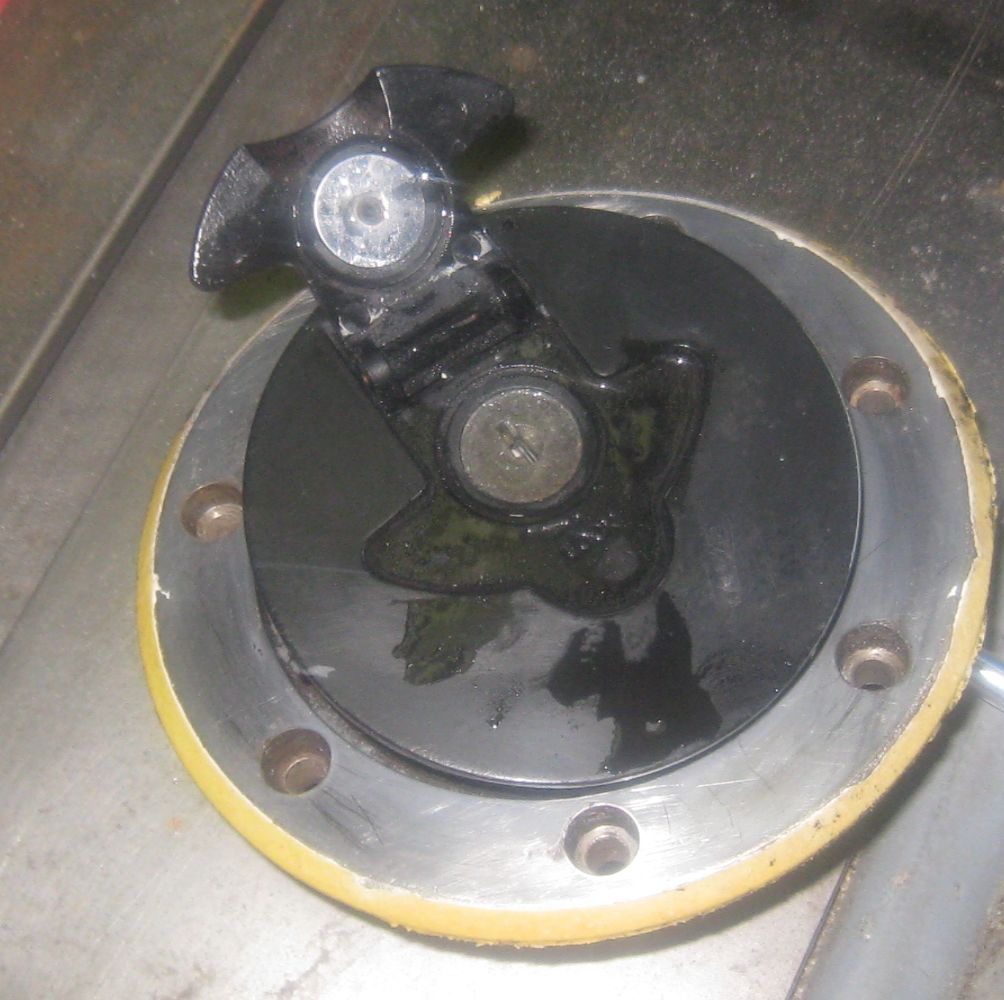
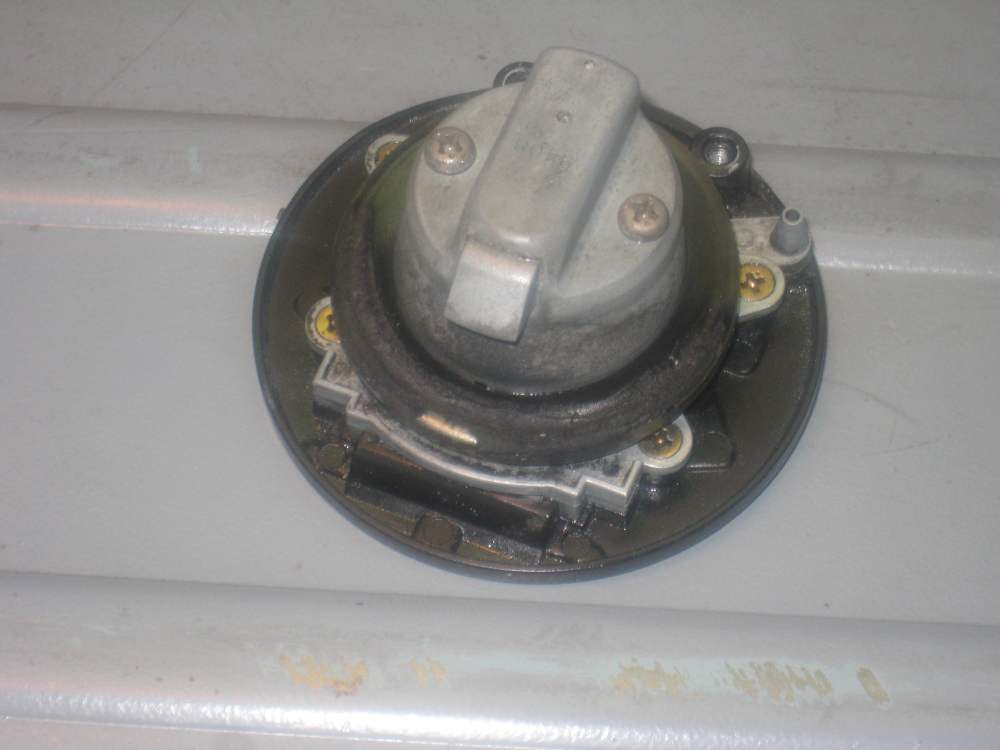
Here is where you can see the screw on the Ninja 500R (which didn't need to be drilled):
Step 3.
Remove the cap. The rest of these pictures will be from the orange 500, unless otherwise noted. Stuff a clean rag in the hole so no dirt goes into your tank while you're working.

Step 4.
Pull off that rubber gasket from the bottom of the cap assembly.
Step 5.
Clean it.

Step 6.
Remove those 2 brass screws that connect the two parts.
Here's the lock mechanism:

Step 7.
Clean it up with a toothbrush. Any hotel/motel should give you a handful of these disposable ones for free if you ask.
Step 8.
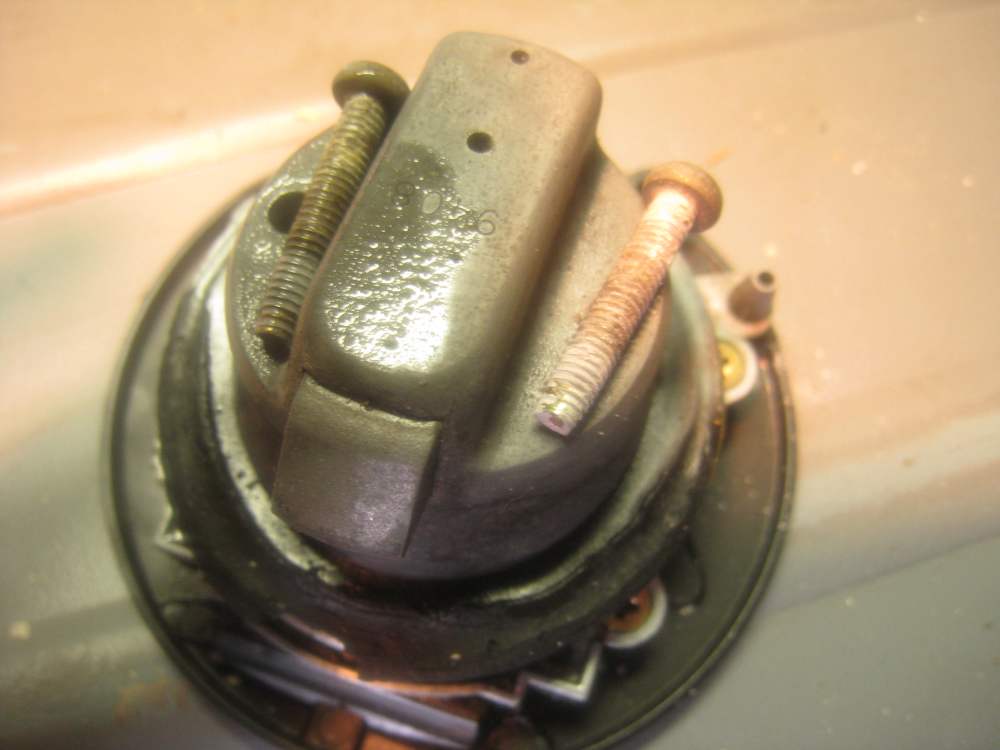
Remove those two screws on top. Use a GOOD quality screwdriver. Those screws will be corroded and stuck. You do not want to strip them. If they won't come out, use a penetrating lube.
Step 9.
As you are working, from completely out of nowhere, some random cat will pounce on your worktable.
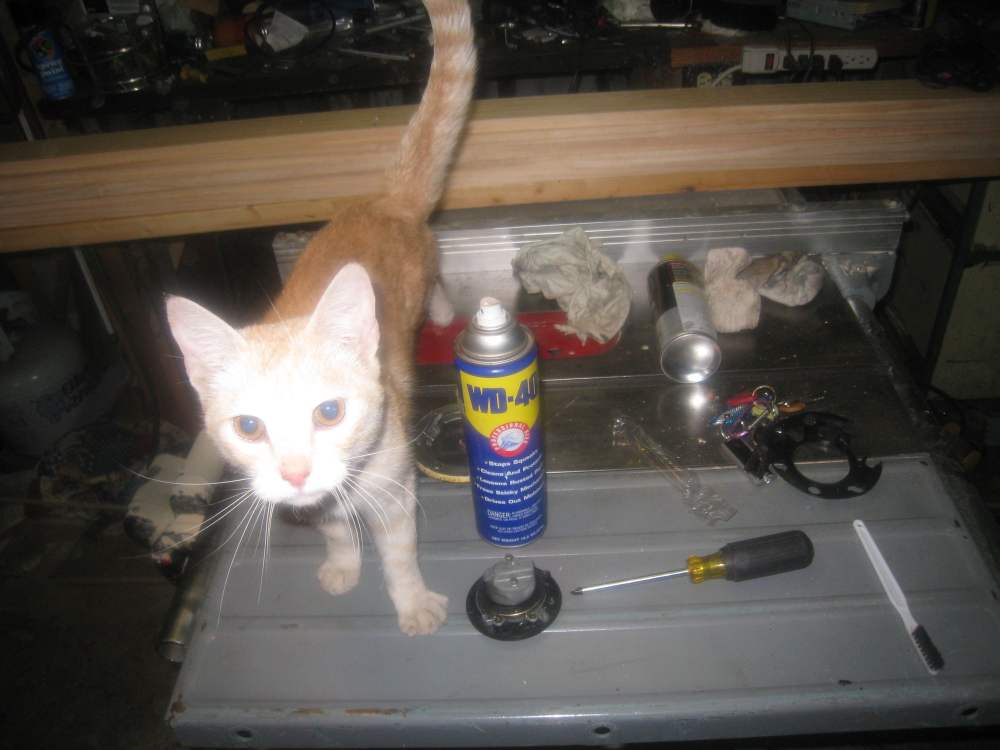
Seriously, I have no idea where this cat came from. She pounced on the table and knocked over all the stuff I was working on. Then she jumped into my arms and started purring. Once you have thrown the cat outside, shut the door, and picked all the parts off the floor, continue to step 10.
Step 10.
Gently clean up those corroded screws with a wire brush.
Step 11.
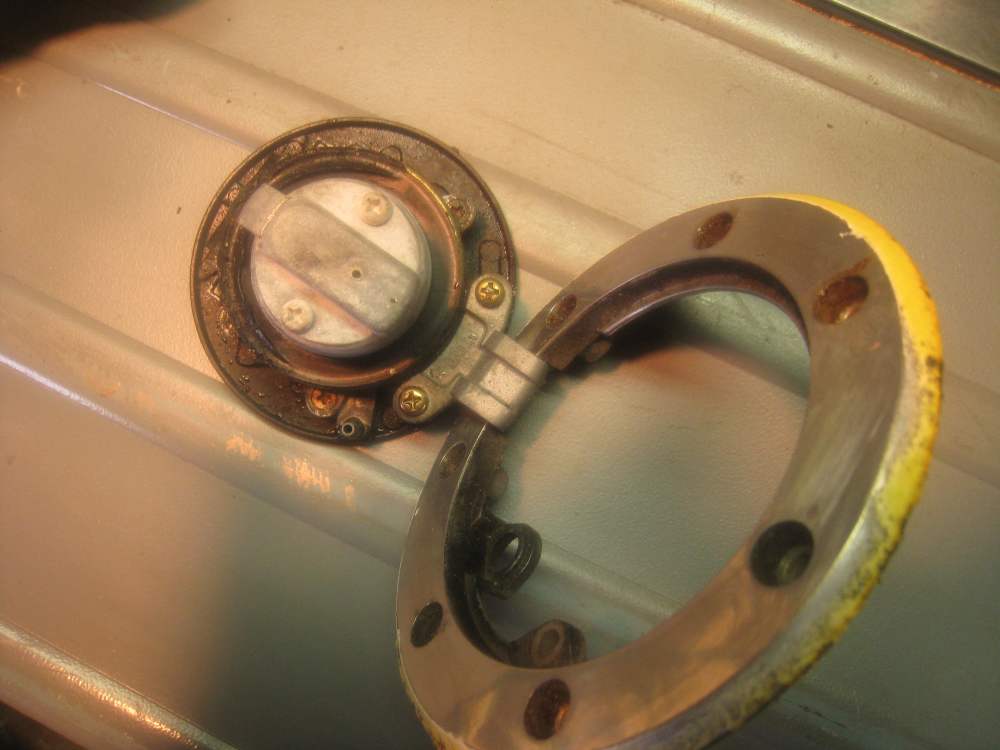
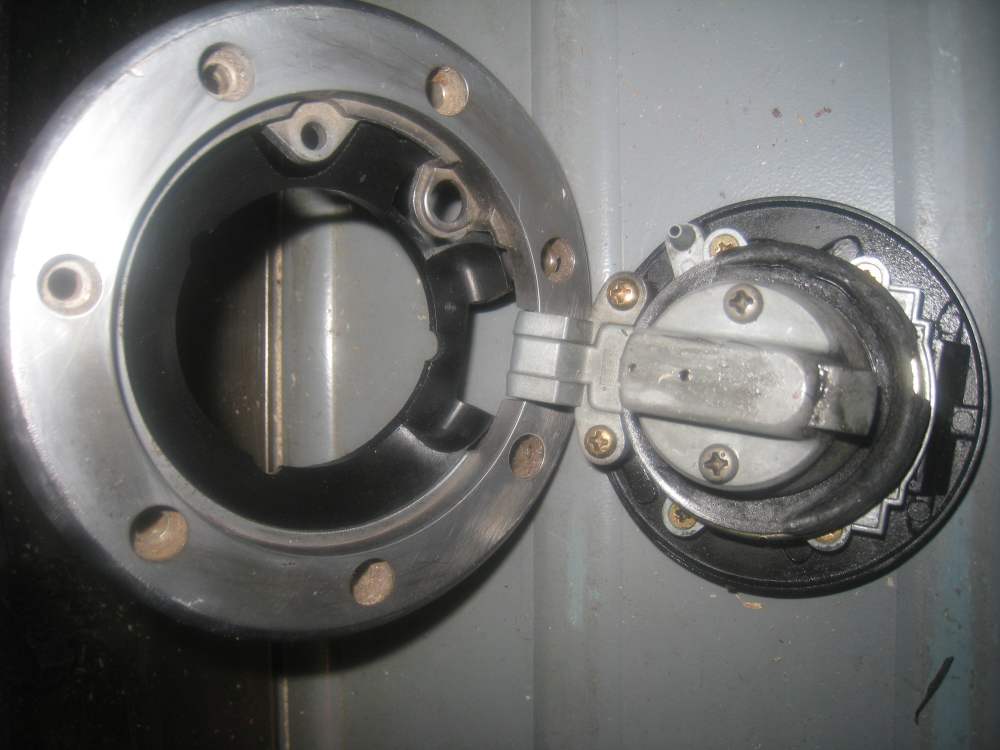
Pull apart the top and bottom of the lock.
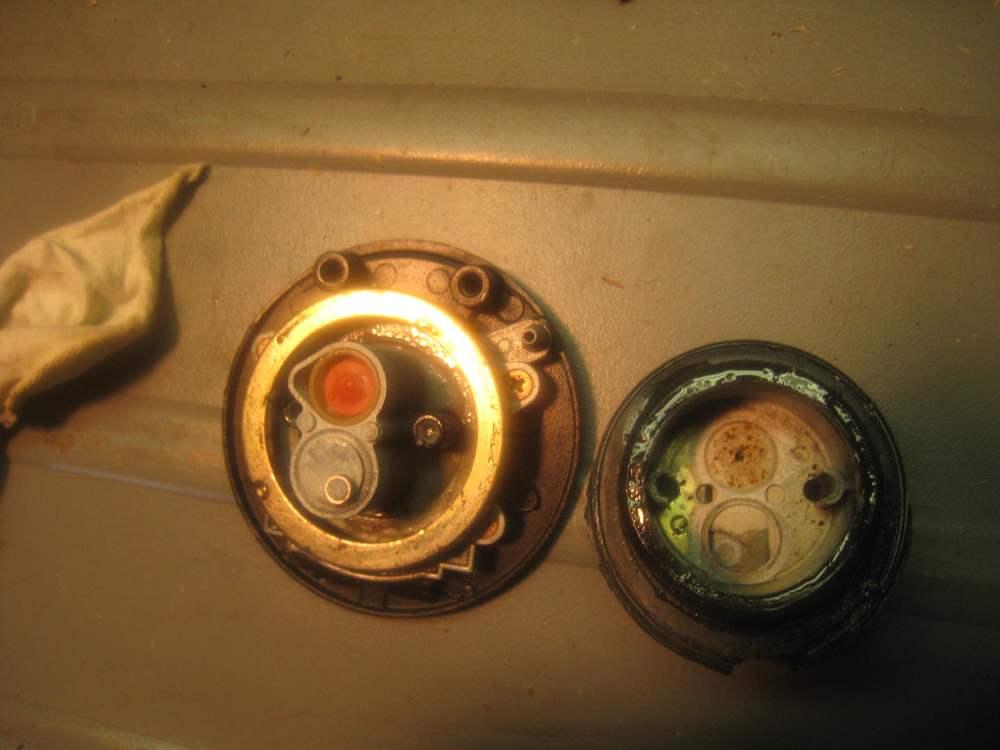
The column shaped like a figure-8 on the left has a cap on the lower circle with a smaller circle inside. That cap comes off if you're not careful--make sure you don't lose it.
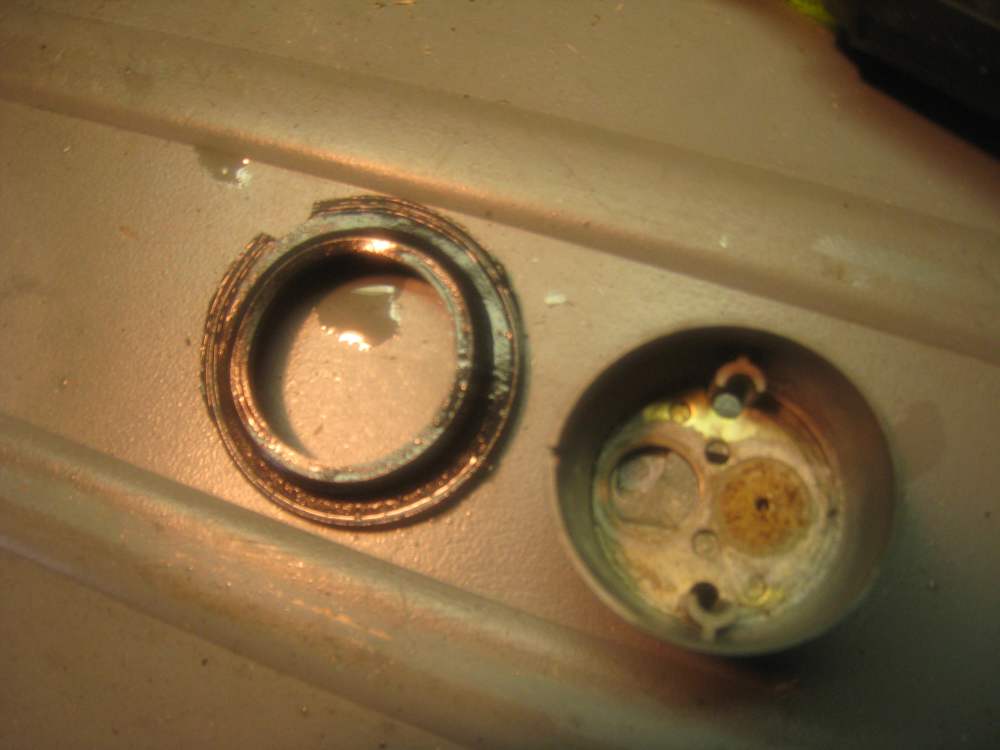
Remove the big brass ring on the left side.
Step 12.
Under the brass ring are 5 springs. Remove them and put them somewhere safe where they won't get knocked over by random cats.
Step 13.
Remove the rubber gasket from the lower part of the assembly (the part on the right on the pics above)
This gasket is looking pretty worn and needs to be replaced. It's unlikely you just happen to have a spare one lying around, though, so it'll have to do for now.
Step 14.
Start cleaning everything with the toothbrush and WD-40, or whatever you like to use for cleaning with a toothbrush. Toothpaste might seem to be the logical choice, but it would likely cause more problems with corrosion in the future.
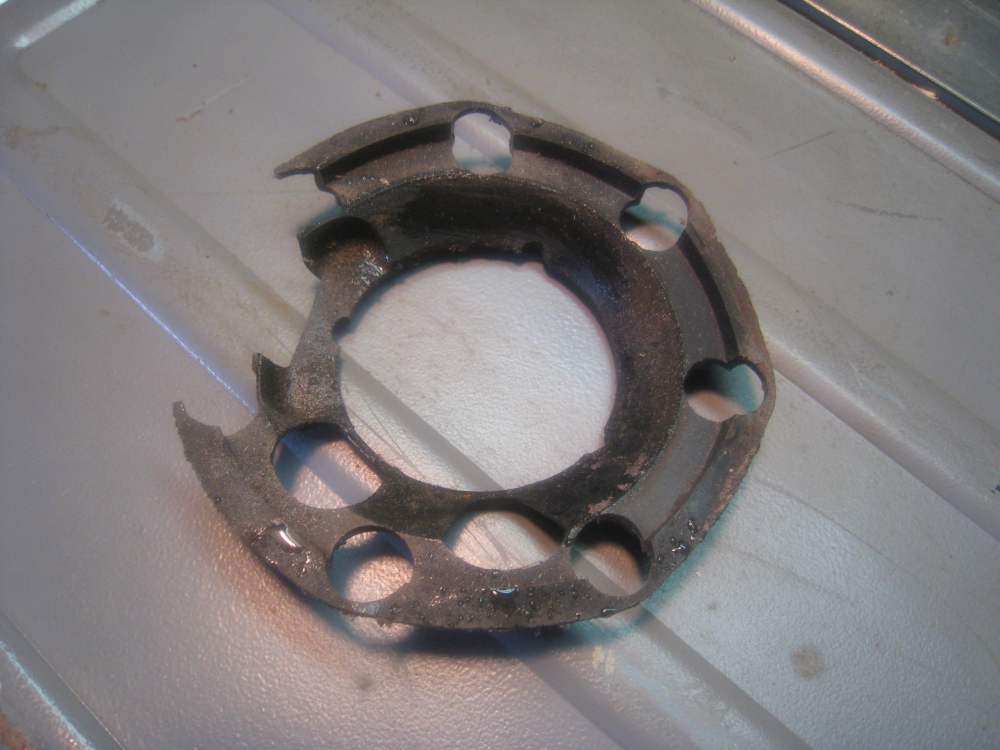
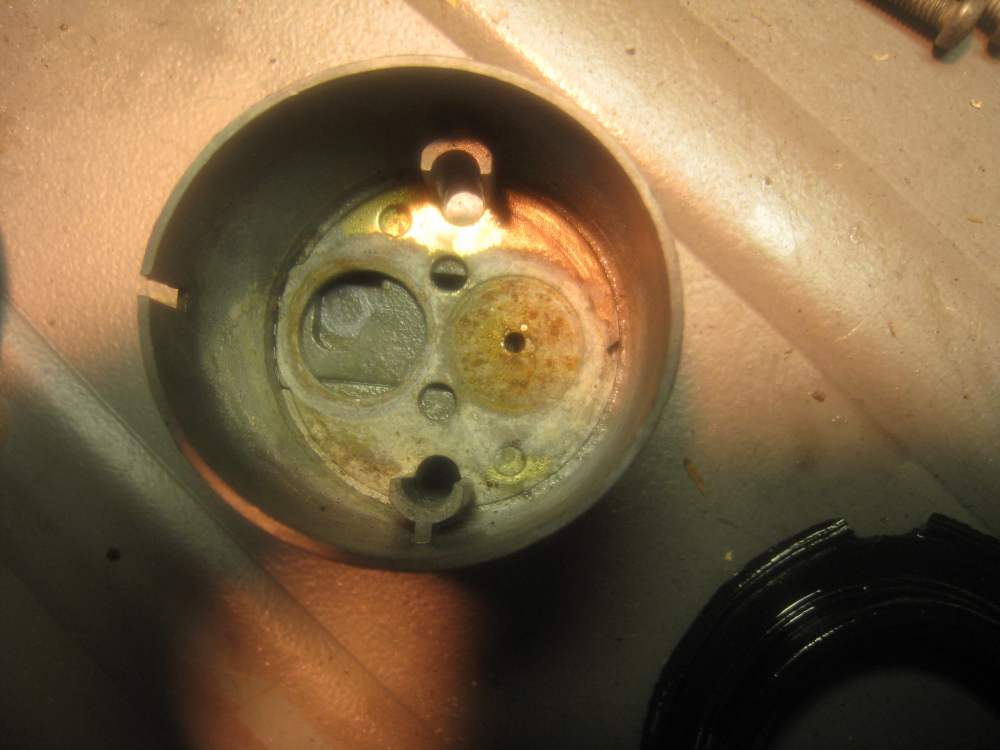
Here are a couple picture from the 250 to give you an idea of what you're likely to see: big flakes of metal coming off everything and jamming up the latch.

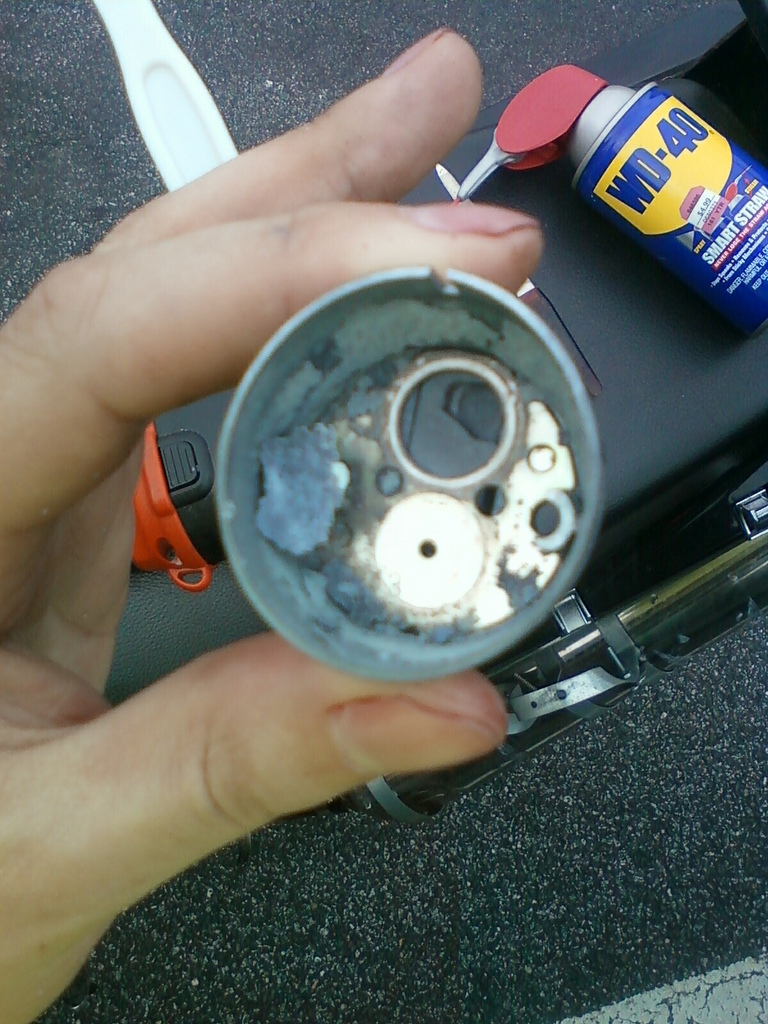
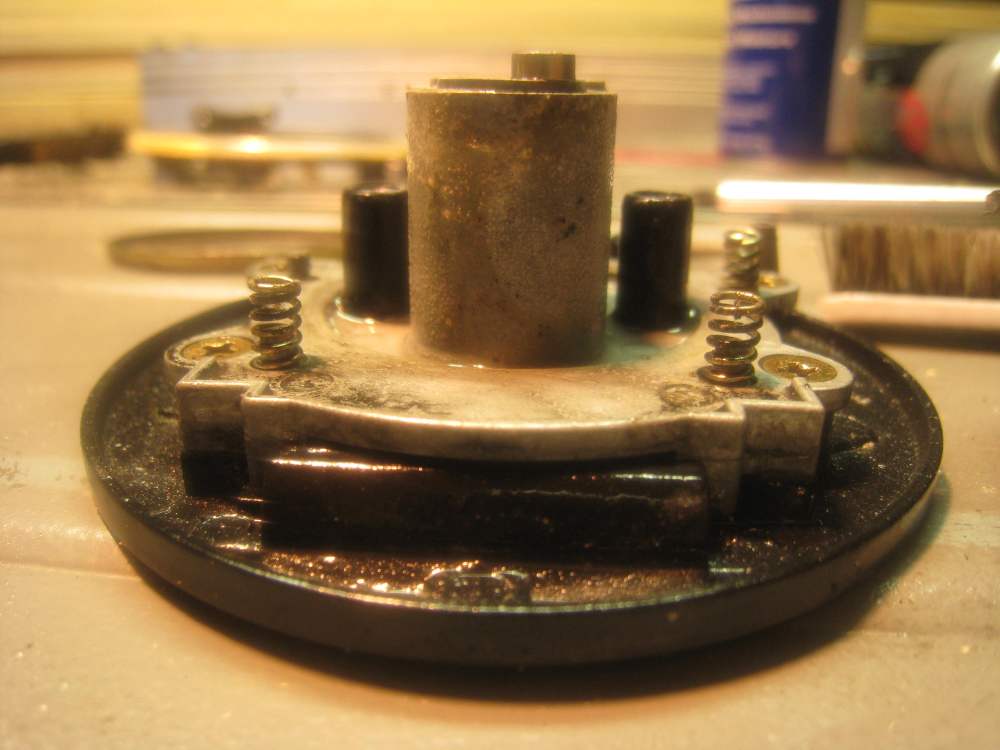
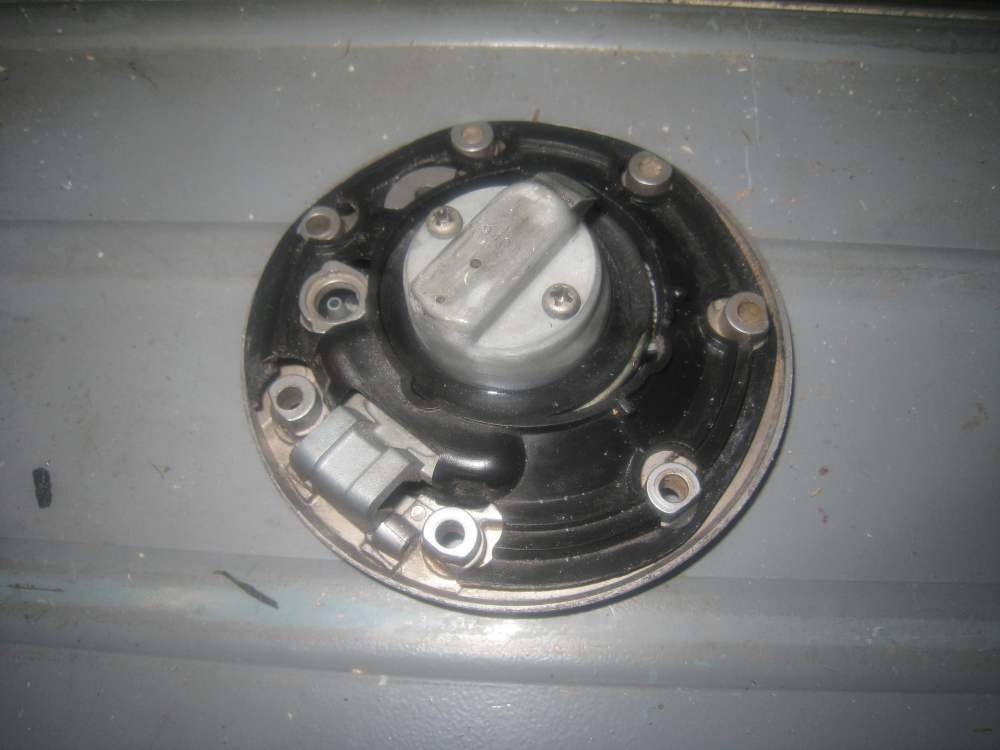
The lock works by that little knob circle cap I mentioned in #11 twists in the base of the cup, pulling the latch, shown here, inward.
Step 15.
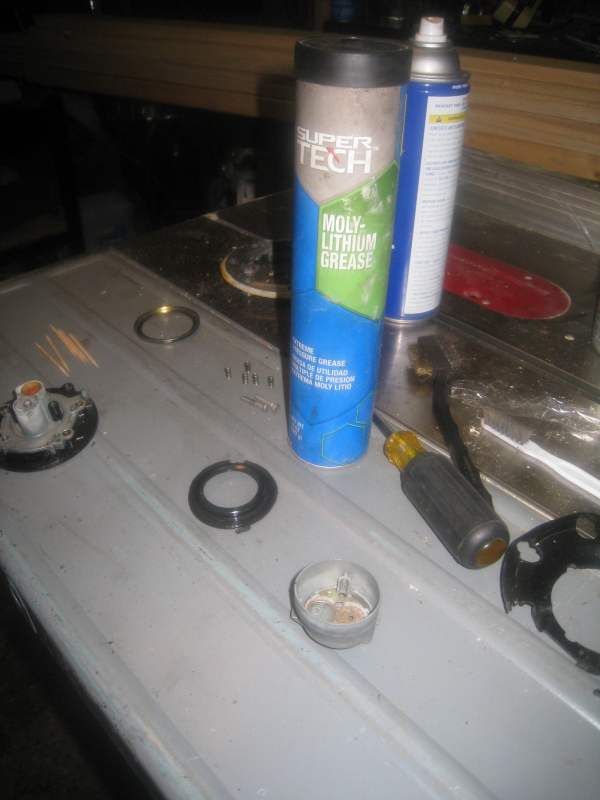
Once everything is reasonably clean (no flakes of stuff left), lube it all up with some grease:
I could only find this stuff this time. Last time I used marine grease, which, since it's supposed to be used on boat trailer wheel bearings that regularly get submerged, probably is more water resistant. I doubt there's really much difference in grease choice for this application, considering that this isn't anything that Kawasaki thinks ever needs to be lubed and can be left dry. They're wrong, but any kind of grease should probably last for years. Vasoline would probably work just fine.
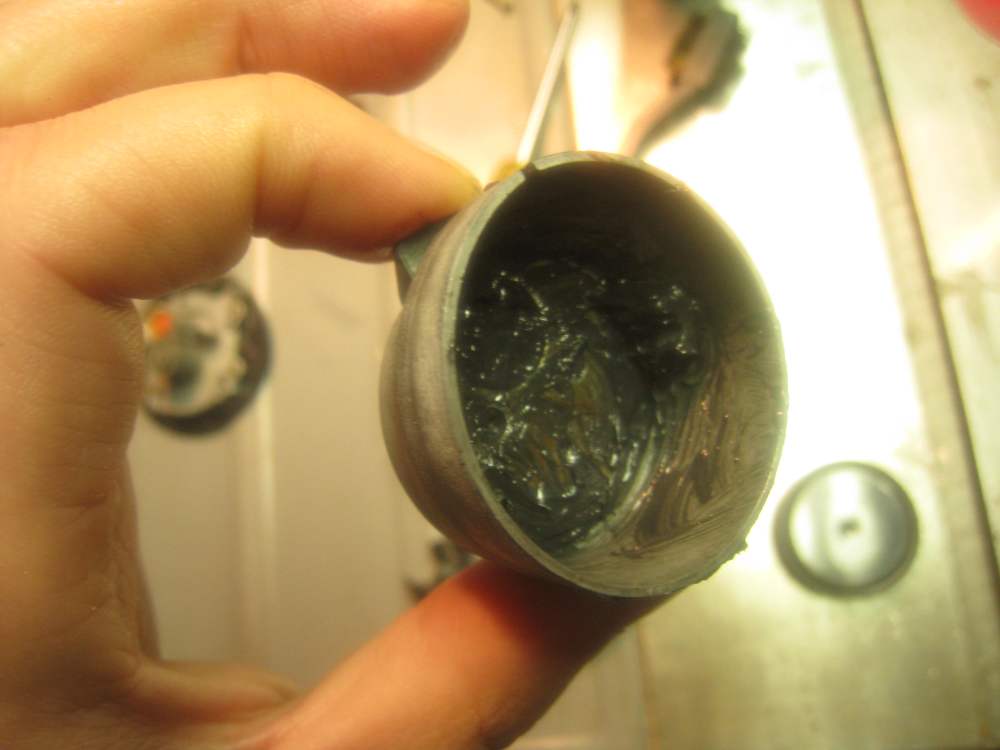
Don't be stingy with the grease. Dump a good glob on there and use a toothpick to make sure it gets into all the little tight spots. Get grease all along the latch both inside and outside. Push in the latch projecting out of the lock, and really work it back and forth to make sure the grease is well distributed.

Step 16.
Then just use the toothbrush to make sure all the surfaces are covered in grease.
Step 17.
Put the rubber gasket back on. (A new one if you have one, otherwise, just clean the old one.)

Step 18.
Okay, seriously, where the hell did this thing come from? I guess I left the door open when I went back to the house for dinner...
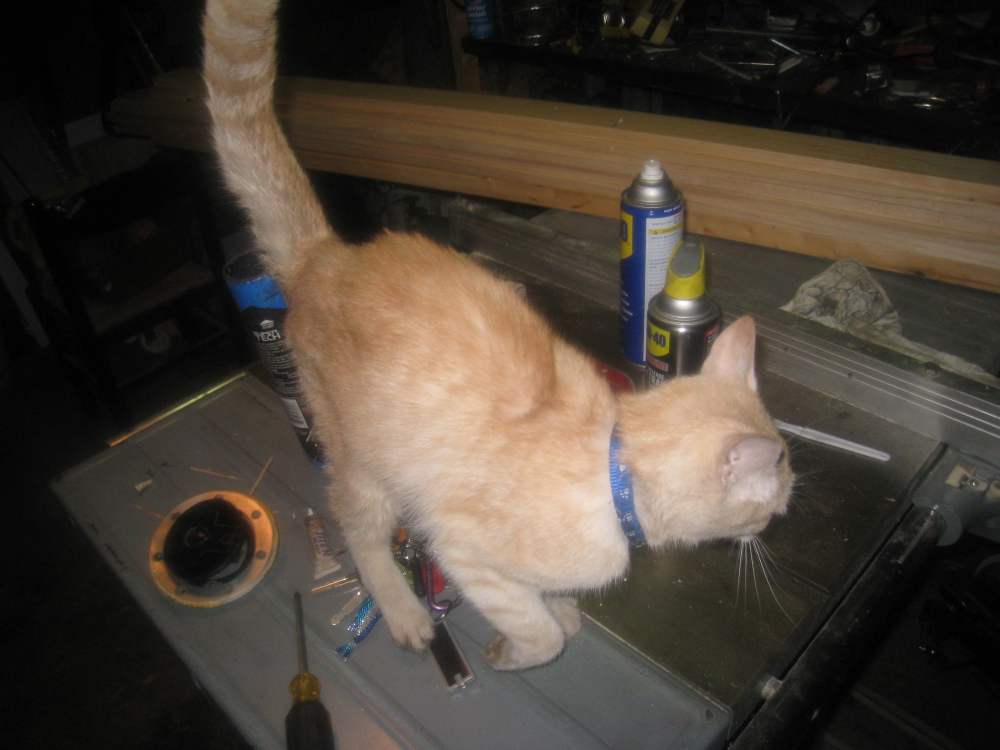
It's really skinny, but it does have a collar, so I guess it's not a stray. It's really starting piss me off though. It's hard to be mad at a cat that keeps jumping into your arms and purring, though. I put it down on the ground, and it starts headbutting my legs. Then it jumps back up on the table and headbutts the cans and tube of grease, knocking them over and onto the floor before I can stop it.
Step 19.
Reassemble the lock. Remember to put the 5 springs back under the brass ring.
Those screws in the top need to be tight enough that they won't fall into the gas tank, but not so tight that the actually press on the lock, which will make it harder to open with your key. Low-strength loctite would be a good option here if you can get all the grease out of the holes and off the screws. I used "Loctite Tite'n" which is their lowest strength--it's more of a thread sealant, so it prevents corrosion of the metals while still being easy to remove. You can see the tube by my keys under the cat in step 18.
Insert your key and work the lock back and forth with the key to make sure everything is nice and smooth again.
Step 20.
Screw the lock back to the rim.
Put it back on the bike, and you're all done. If you feel the key start to stick again, repeat this procedure at the first sign of trouble...it's not worth getting stranded at a gas station. I did this about a year ago on the 250 and it's worked perfectly ever since (and it's always been stored outside with no cover, and has seen plenty of rain).
I'll post an update if I ever have to do it again, but so far everything has been smooth.