
|
 September 2nd, 2011, 04:50 PM
|
#1 |
|
Money is a drug.
Name: Chaos
Location: South Jersey
Join Date: Jun 2010 Motorcycle(s): 2011 ZX-6r, 2010 250r (RIP) Posts: 251
|
How To: DIY 12v Power Source
*Note this was done on a ZX-6r but the steps can are very similar, only difference is you'll need to find a different mounting location and a different way to route the wires. When I had my 250 the 12v accessory port was mounted on the left side of the plastic piece that connects to the fairing (weather guard?)
Disclaimer: Neither myself nor ninjette.org are reliable for anything that goes wrong in your installation/modification. If any part of this how to seems out of your league you're better off getting help or finding someone else to do it. So I have been contemplating adding my 12v power source I had in my 250 to my zx6r. Finally took the time to actually do it. I personally like to have things like this hidden and I have to say, I'm very happy with the outcome. I personally used the connector from my license plate light since I don't use it. This way the 12v source will not work unless the bike is running and it also alleviates me from having to use an inline fuse (the lic. plate light is on its own fuse). You could easily wire it directly to your battery, but remember to add a 15amp inline fuse at the battery source, otherwise you could end up having bigger problems... and the other draw back is if you leave something plugged in, your battery will most likely be dead in 2 hours or so. What you need: - Waterproof 12v accessory port (cigarette lighter) - 16 Gauge Wire (black and red) - Drill & Drill bit (and 4 screws, 4 washers, 4 locking washers, and 4 bolts if your accessory port didn't come with hardware) - Blue Locktite - Wire Cutters - Waterproof heat shrinking wire crimps, or solder iron, solder and heat shrink - Wire crimps - License plate light harness (if doing it this way) - In-Line fuse with 15amp fuse (if going directly to the battery) - Wire Tape and/or heat shrink for insulation Step 1: Strip the left (or right) fairings off the bike (not going to show you how to do this, if you can't figure this out you probably shouldn't be messing with something like this). 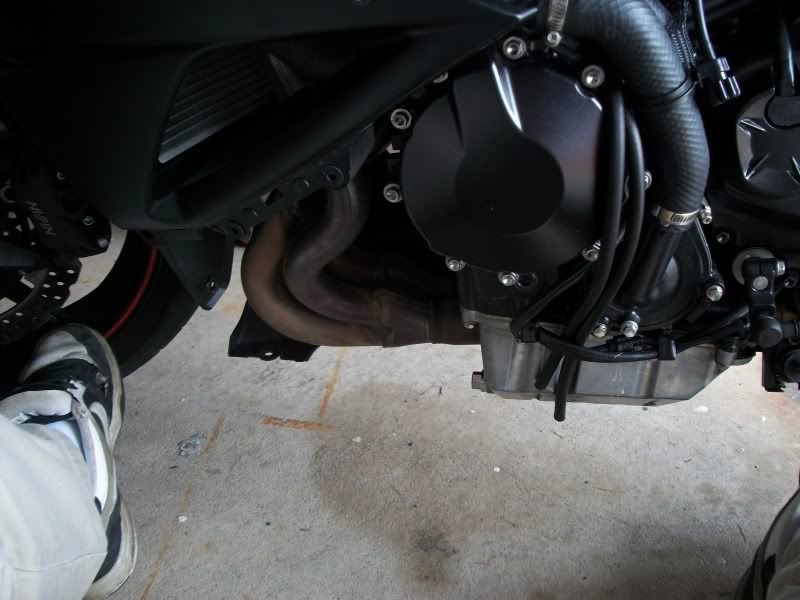 Step 2: Figure out where you want to place the 12v power source, I chose to put mine in a hidden location next to the radiator. Tape it there (if you drill now, you'll regret later). 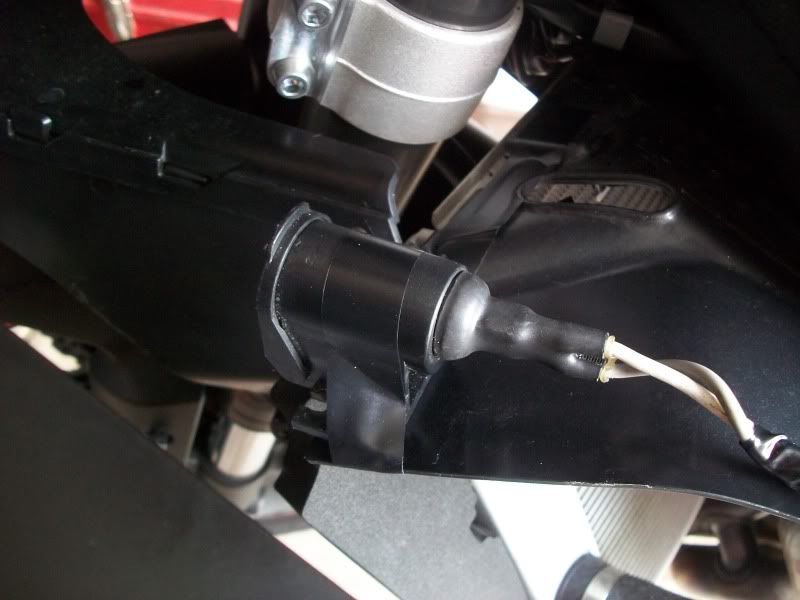 Now put the fairings back together (no need to bolt em up) to see if the spot you chose is out of the way of everything. 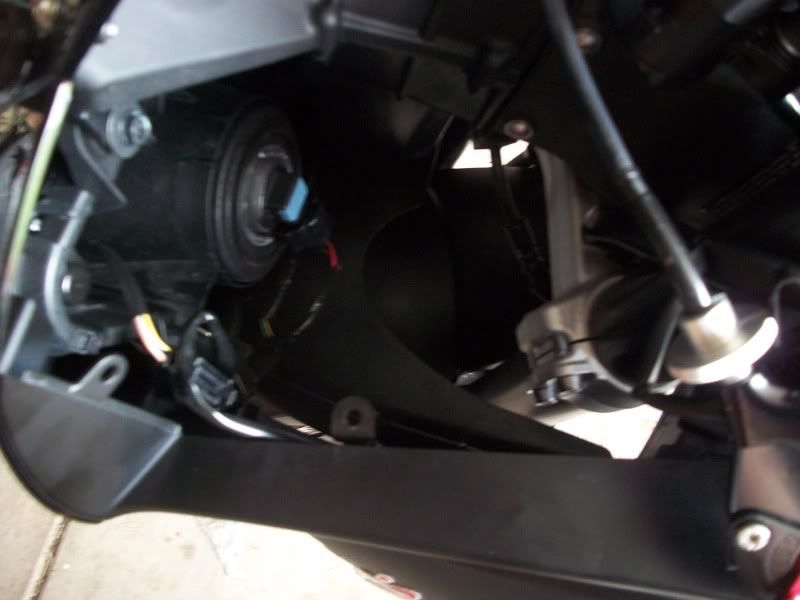 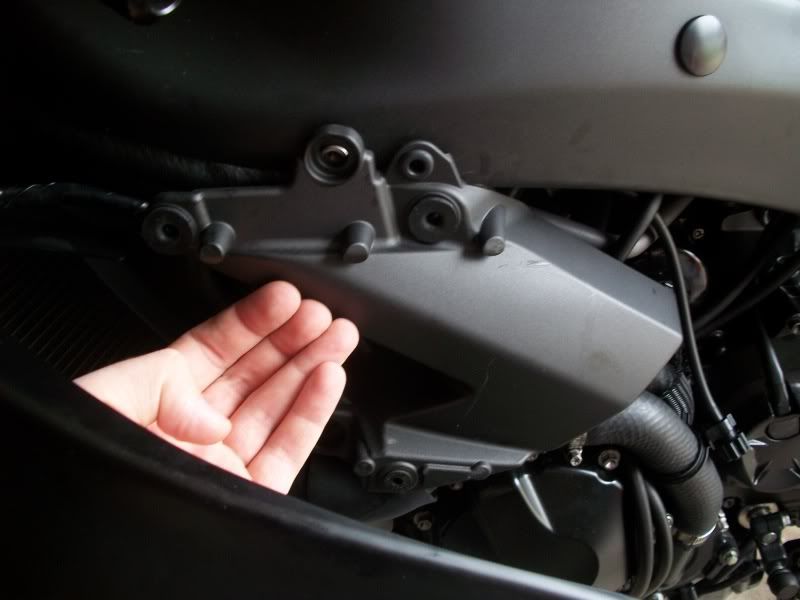 Now get out the wire and measure out how much you'll need for both positive and negative. Crimp or solder the wires to the 12v accessory port. If going directly to the batter add the inline fuse to the positive wire by either crimping or soldering and heat shrinking it. (this is a pic of my battery tender, but on the positive size is an inline fuse, that's what you'll need) 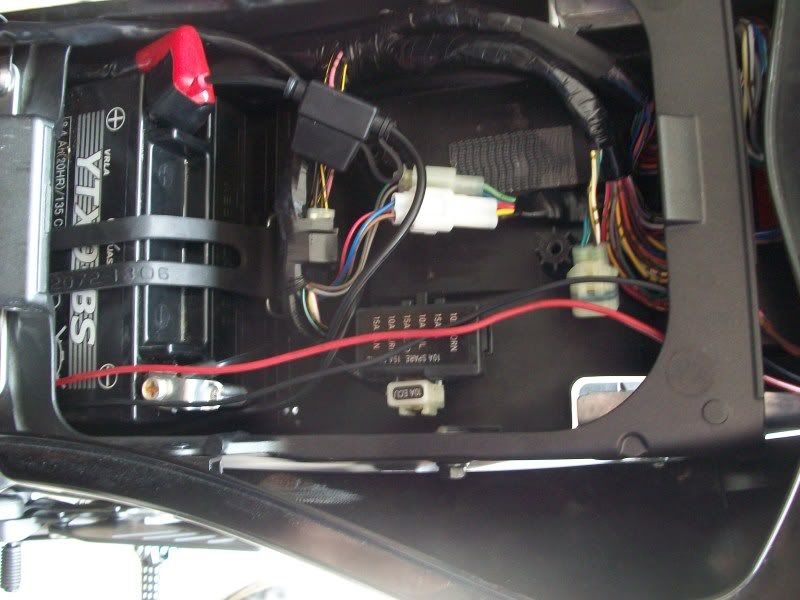 If plugging into license plate light strip, solder and heat shrink or crimp both positive and negative wires. 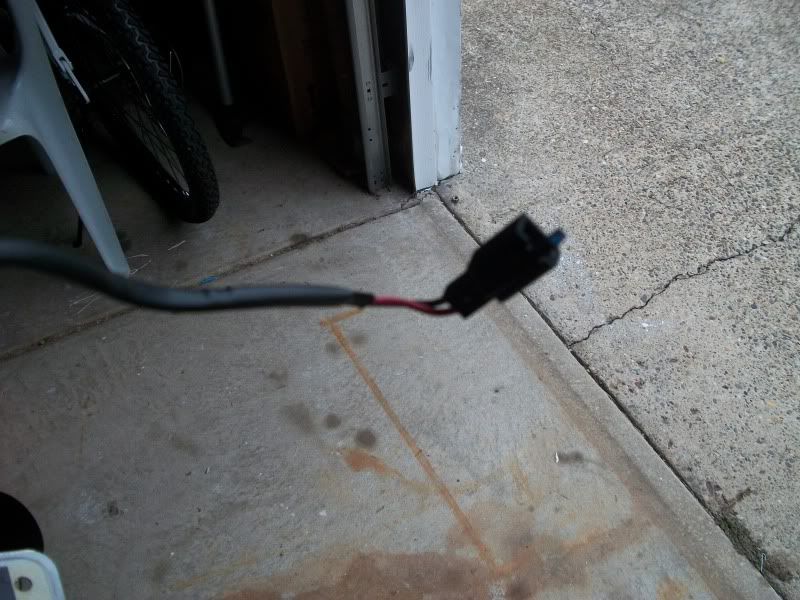 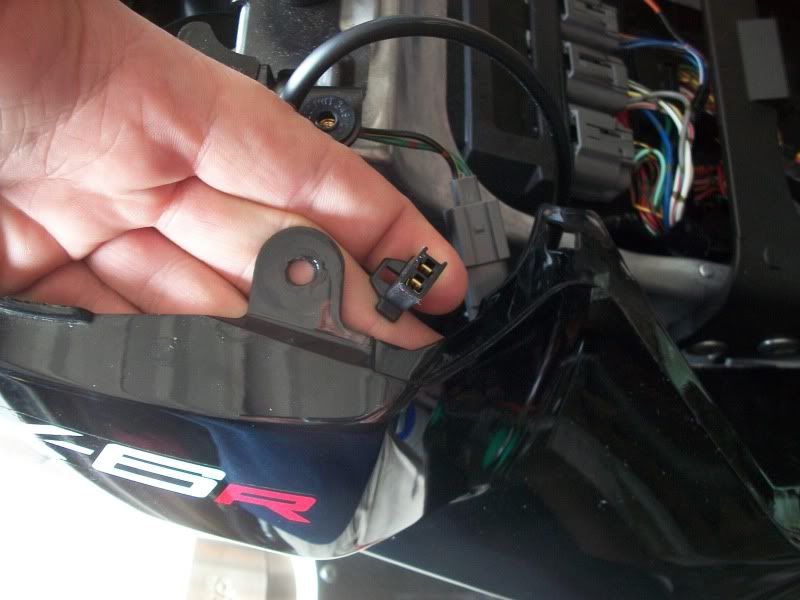 Step 3: Now comes the fun part. Route all of your wire. If you will be routing between the fram and the engine area, i HIGHLY recommend using some sort of insulation, whether it be heat shrink or wire tape or something else as it will get VERY hot and could cause the wire's insulation to melt and then short out. I personally used a mix of wire tape and heat shrink in those places. 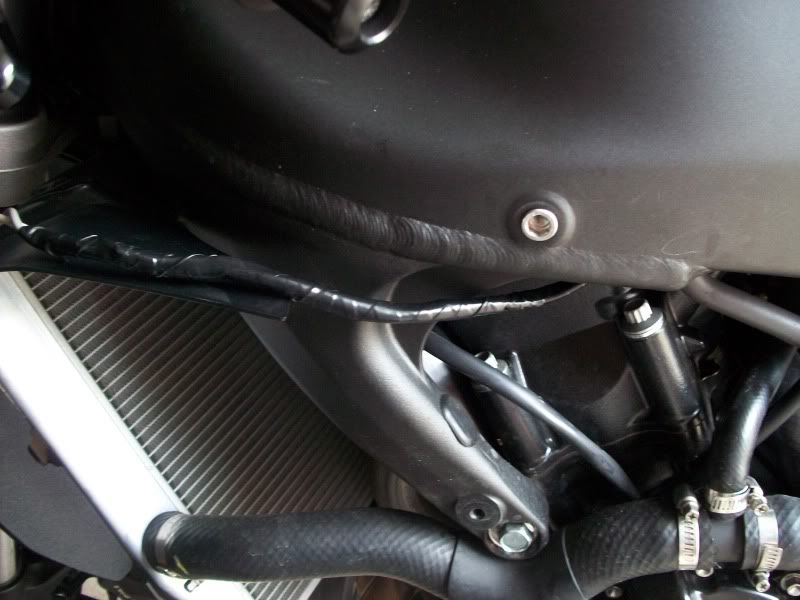 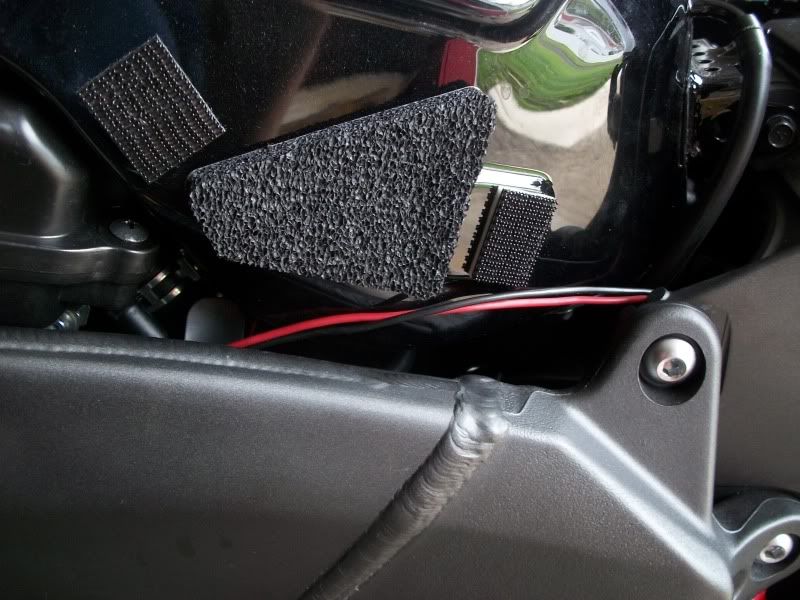 Step 4: Now it's time to make the purchase points with the drill...not for the faint of heart. If your thinking about using a sticky tape...you can try but I've never had a piece last too long in the rain. So make the first hole and then the second diagonally from that. Insert the screws and set them. Now make 2 more holes. I recommend using some blue locktite so the bolts don't vibrate off. 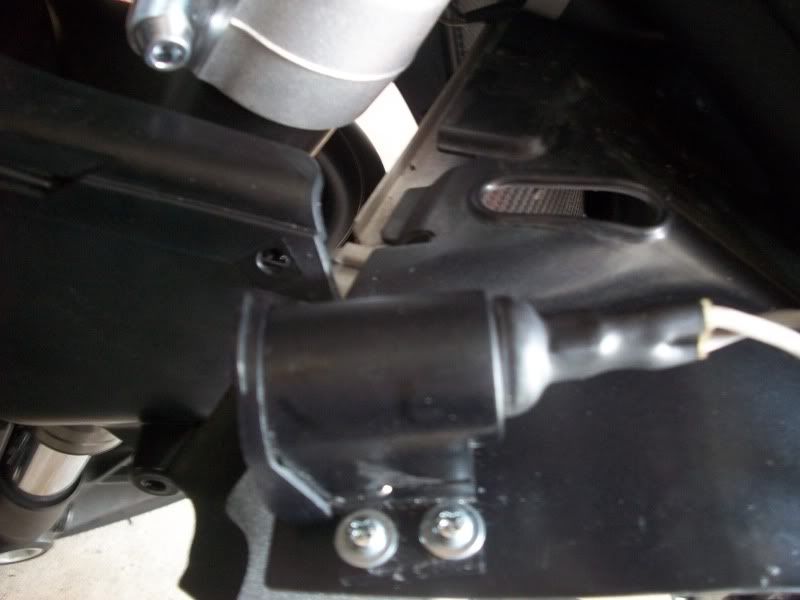 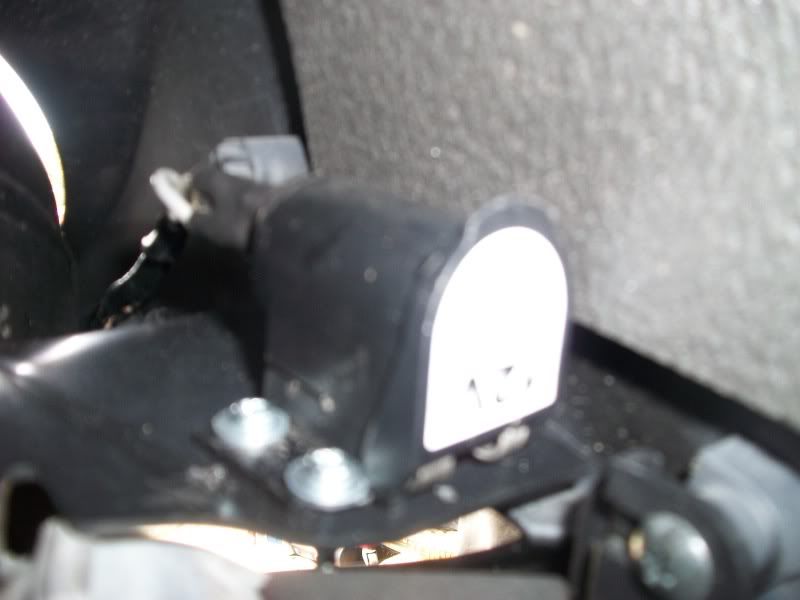 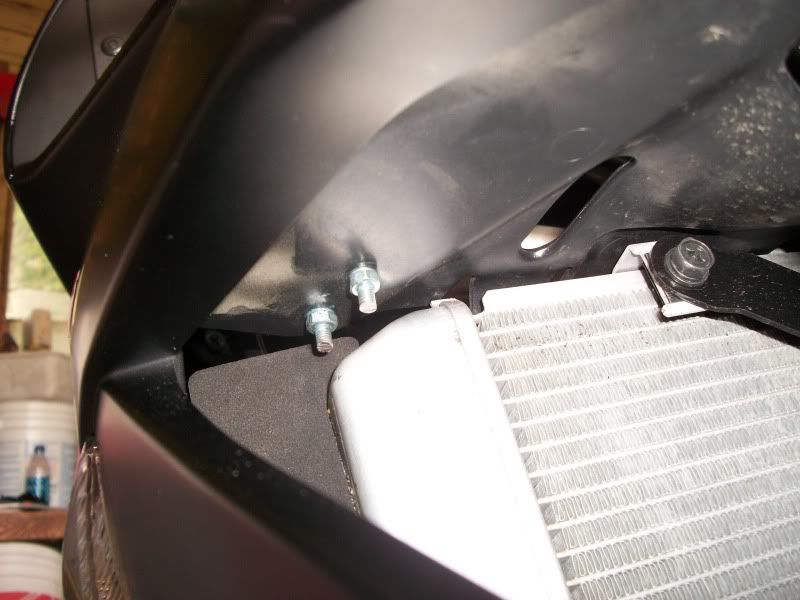 Step 5: Now that everything is all set, try it out and see if it works! Now put everything back together and your done!  Can't even tell it's there... |

|

|
|
September 2nd, 2011, 06:16 PM
|
#2 |
|
ninjette.org dude
Name: 1 guess :-)
Location: SF Bay Area
Join Date: Jun 2008 Motorcycle(s): '13 Ninja 300 (white, the fastest color!), '13 R1200RT, '14 CRF250L, '12 TT-R125LE Posts: Too much.
Blog Entries: 7
|
/linked from DIY sticky
__________________________________________________
Montgomery Street Motorcycle Club / cal24.com / crf250l.org / ninjette.org ninjette.org Terms of Service Shopping for motorcycle parts or equipment? Come here first. The friendliest Ninja 250R/300/400 forum on the internet! (especially Unregistered) |
|
|
|
|
September 2nd, 2011, 08:06 PM
|
#3 |
|
ninjette.org guru
Name: Bobby
Location: Michiana
Join Date: Sep 2010 Motorcycle(s): 2001 Kawasaki Ninja 250R Posts: 271
|
Is there any instructions like this for a pre-gen that already has the accessory wires?
|
|
|
|
|
September 27th, 2011, 04:48 AM
|
#4 | |
|
ninjette.org certified postwhore
Name: Jason
Location: Jacksonville, Florida
Join Date: May 2010 Motorcycle(s): 09 Ninja 250R SE, 07 Honda CRF230F, 06 Honda CRF150F Posts: A lot.
|
Quote:

__________________________________________________
09 250R SE: Paying it forward one post at a time!   Don't forget to add yourself to our Member Map Don't forget to add yourself to our Member Map
|
|
|
|
|
|
September 27th, 2011, 07:00 AM
|
#5 |
|
Money is a drug.
Name: Chaos
Location: South Jersey
Join Date: Jun 2010 Motorcycle(s): 2011 ZX-6r, 2010 250r (RIP) Posts: 251
|
thought there was? i think i remember kkim or someone writing it up, unless i just saw it somewhere else...try googling it.
|
|
|
|
 |
 Similar Threads
|
||||
| Thread | Thread Starter | Forum | Replies | Last Post |
| Grip Warmer power source. | JeffM | 1986 - 2007 Ninja 250R Tech Talk | 8 | February 3rd, 2011 01:17 AM |
| 12V cigarette lighter plug-REALLY basic DIY? | DRivero | General Motorcycling Discussion | 39 | September 23rd, 2010 09:06 PM |
| 12V Socket - Max power output? | AgentX | 2008 - 2012 Ninja 250R Farkles | 15 | September 12th, 2010 07:55 PM |
| Power question, powerlet 12v to mini-usb power. | karlosdajackal | 2008 - 2012 Ninja 250R Tech Talk | 1 | May 12th, 2010 05:03 AM |
|
|


