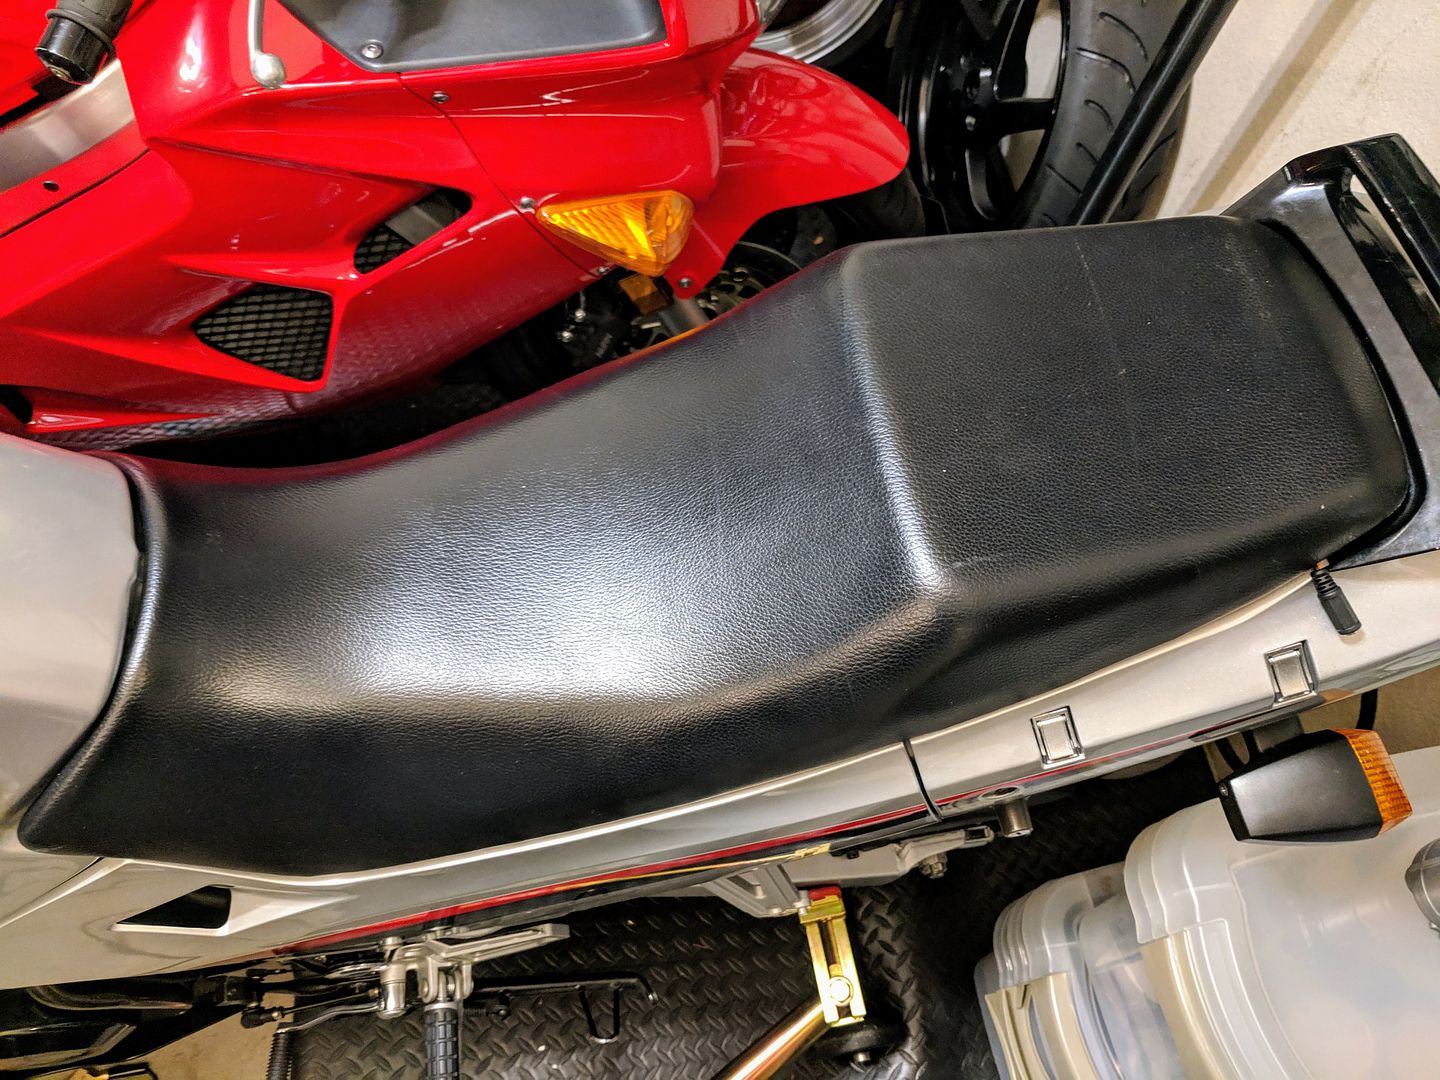
I got an opportunity to work on the EX250 so I decided to put the new Northwest Classic seat cover.
When you see the pictures I took of my EX250's original seat cover you might think it looks to be in pretty good condition. Yeah, it looks good because the bike has always been kept in a garage, but the cover has a lot of wear around its perimeter that isn't apparent in the pictures.
I took some pictures while I did the work and I put them into an "unlocked" Photobucket library file. Photobucket is a notoriously for its clunky operation, but it should (if we're lucky) allow you to browse through the pictures I took while installing the seat cover.
After clicking on the link below you can quickly click through the entire library file
by using only the arrow on the left side of the picture (once you're into the file you can "arrow" both ways). If you accidentally click out of my picture file you end up in the clunky-messy world of Photobucket.
In the Photobucket picture file you'll see that the Northwest Classic people draw a temporary line on the new seat cover that shows exactly where to stretch the cover to meet the edges of the seat pan. Also on their directions sheet they give you the locations and order in which to attach the seat cover so that it ends up properly stretched and stapled.
You can see by my results that the quality of the seat cover construction plus their directions on installing it make it possible to do a very good job. The whole process took only about an hour and a half.