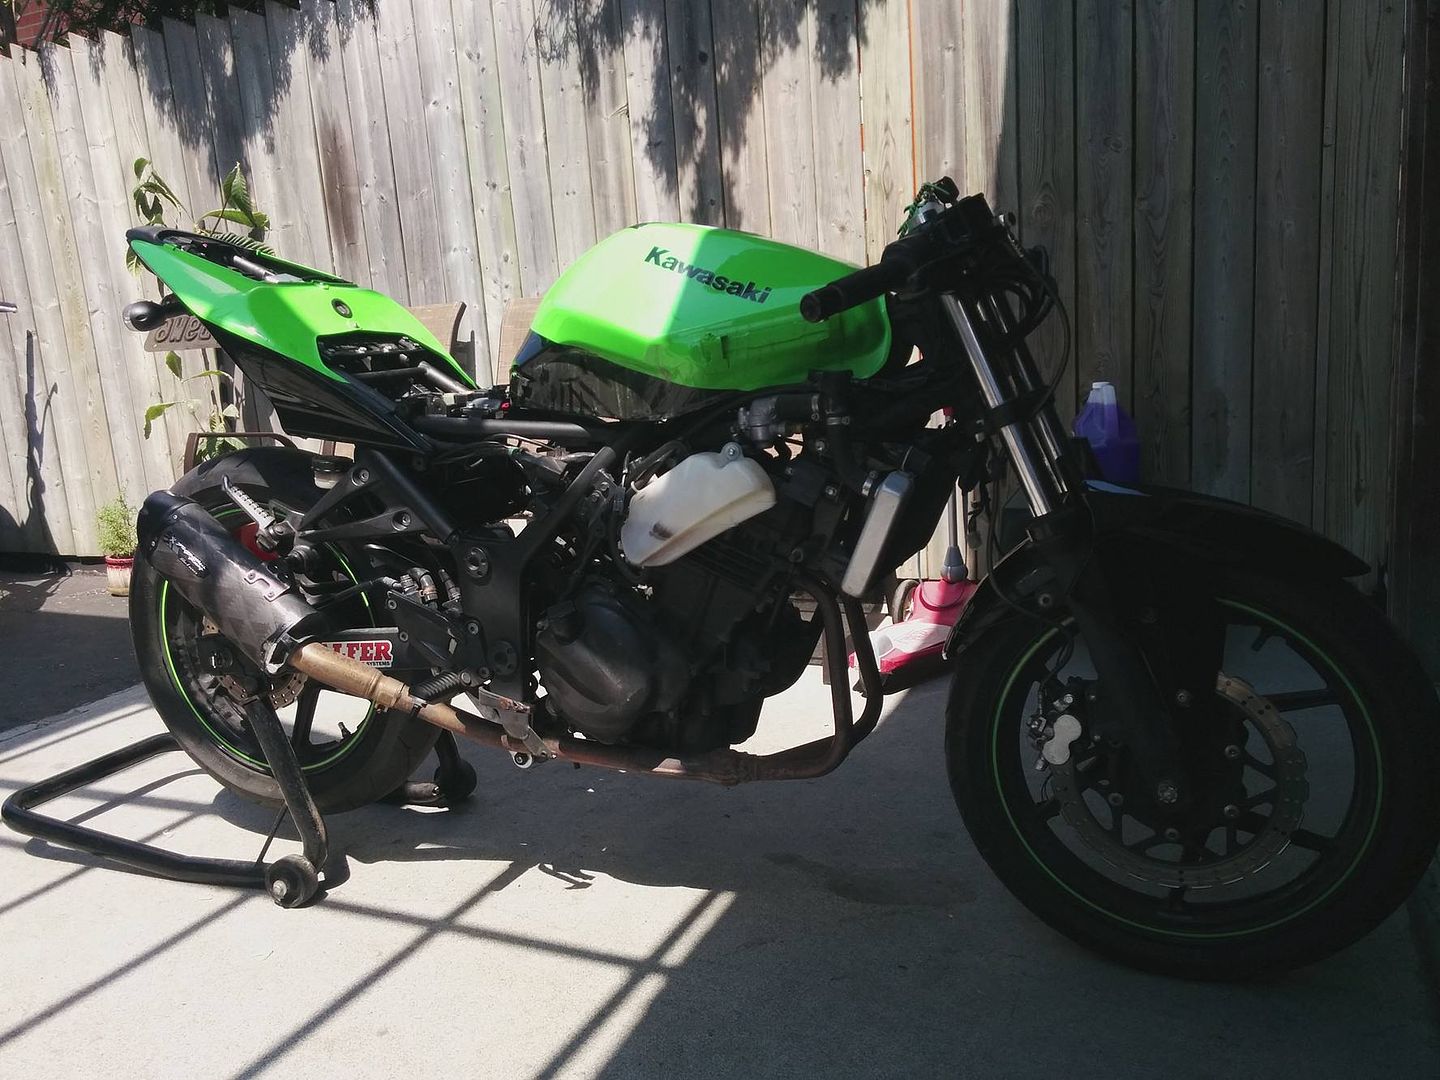
Okay okay before you guys say - "well look who's coming crawling back". I have a perfectly valid reason for going AFK - University, girls, exams, girls, 2 jobs, girls...you get the general idea. So as much as I love Circe I wanted to give her a makeover and lately I have been getting into street fighters a lot. At first I though of getting that brasse kit but then again, why not go for something unique, something different, something personal.
Parts
1. GSXR rear shock - Already had it
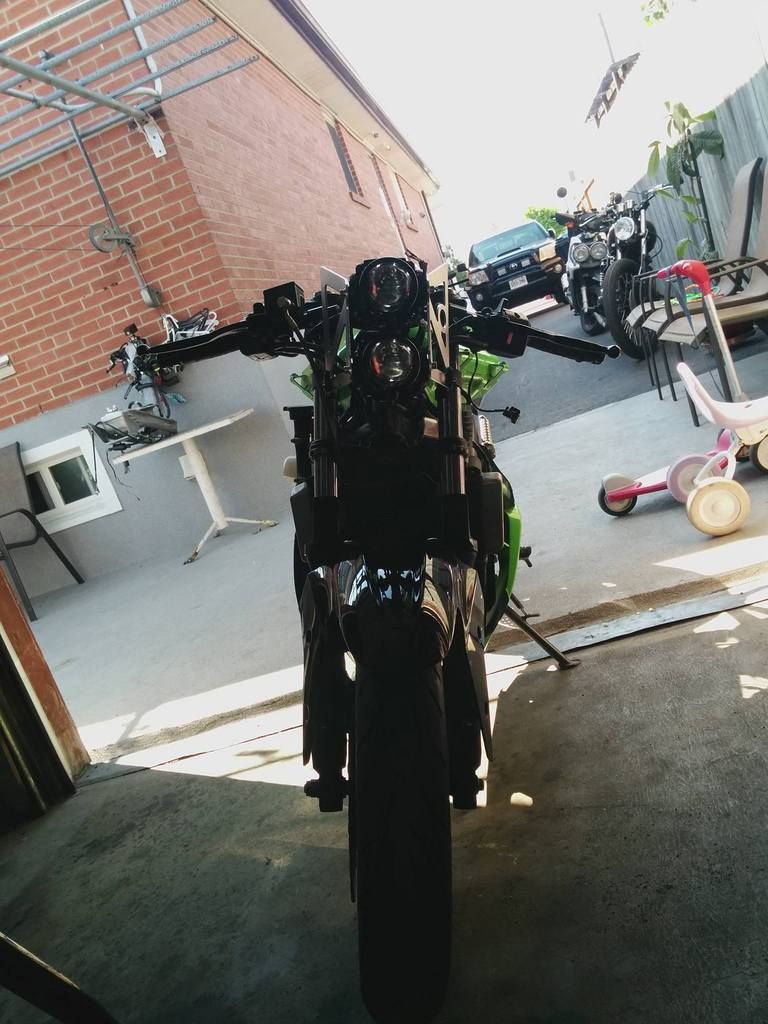
2. Projector headlights - Ebay
3. Clips ons - Dime City Cycles
4. Trailtech vapor - Amazon
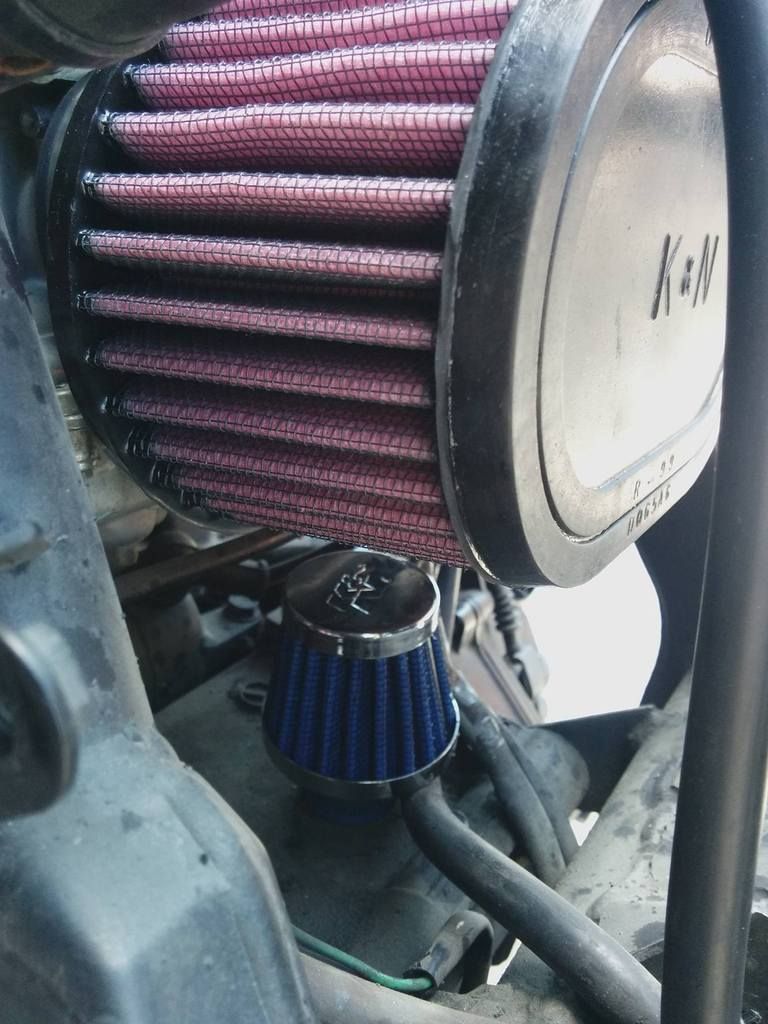
5. K&N pod filers
6. LED strips for turn signals
7. Jet Kit
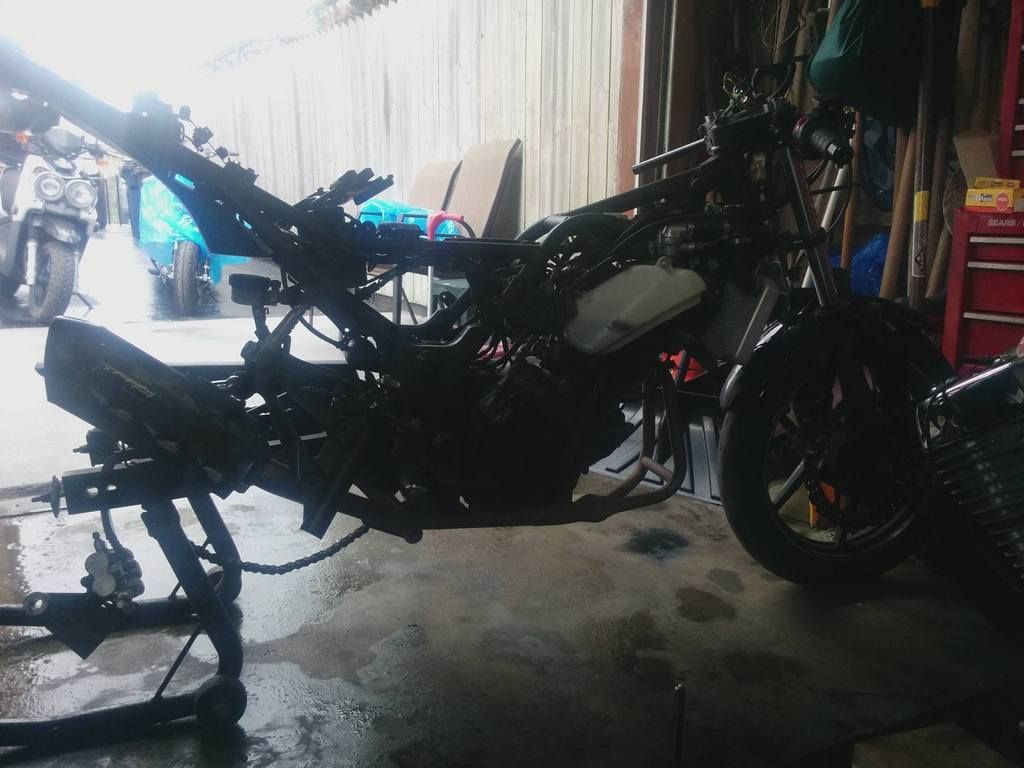
Step 1 - The striptease
Well everything had to go, so everything had to come off. And since I am mechanically inept, I had a friend with me who thankfully is a master mechanic and has been working on bikes his whole life....more or less.... decided to do it for me.
Soo off goes Circe's fairings, tank, headlights basically everything.
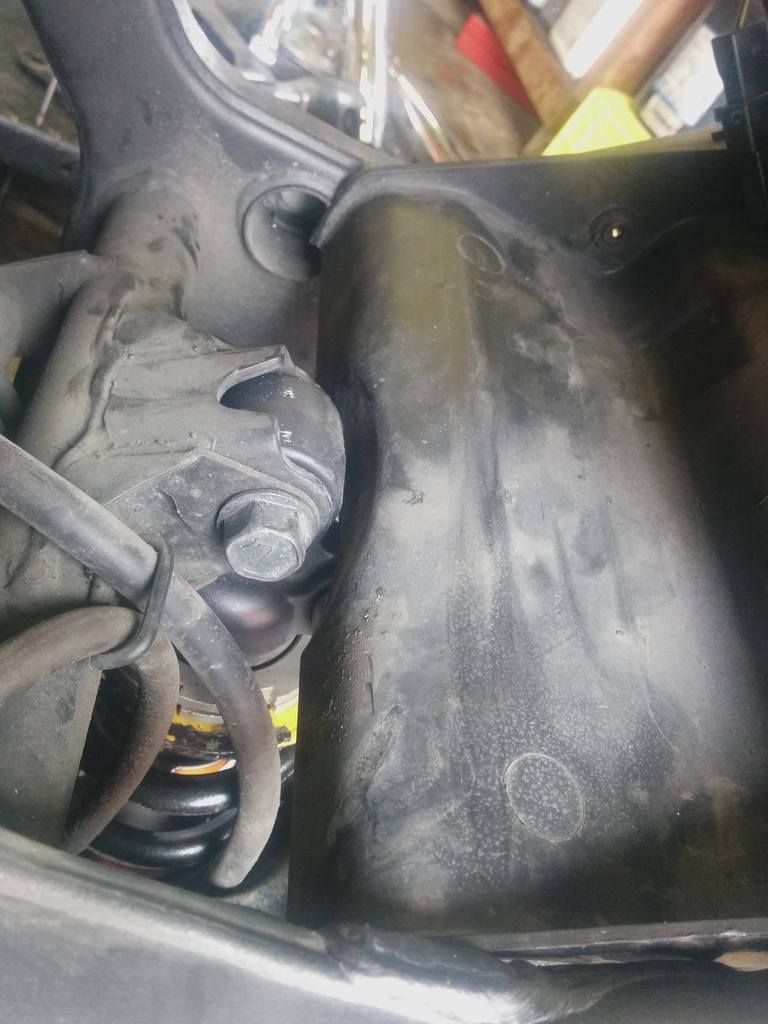
 Step 2 - The bouncy bouncy
Off goes the stock shock and in goes the gsxr shock I had gotten about a year ago from a friend. The installation was a pain in the ass, had to take off the undertail, the rear tire, the airbox just to get to bloody shock. So off goes the stock one and on goes the new one.

Time to put the airbox in......nope...obviously there had to be some sort of a problem....since the guy I took the shock from was taller than me, the dog bones weren't long enough meaning the damn thing was too high up to get the airbox in and I didn't have a lowering kit on me.......
AKSDF;JADSFUOHASJBFVAUJFD
So........ordered K&N pod filters....buuttttt that's a 2 day wait....fiiineeeeeeeeeeee..I have waited for so long so fineeeeeeeee
but wait......now I have to modify the undertail a bit.....-_-
*Bangs his head on the wall*
Done
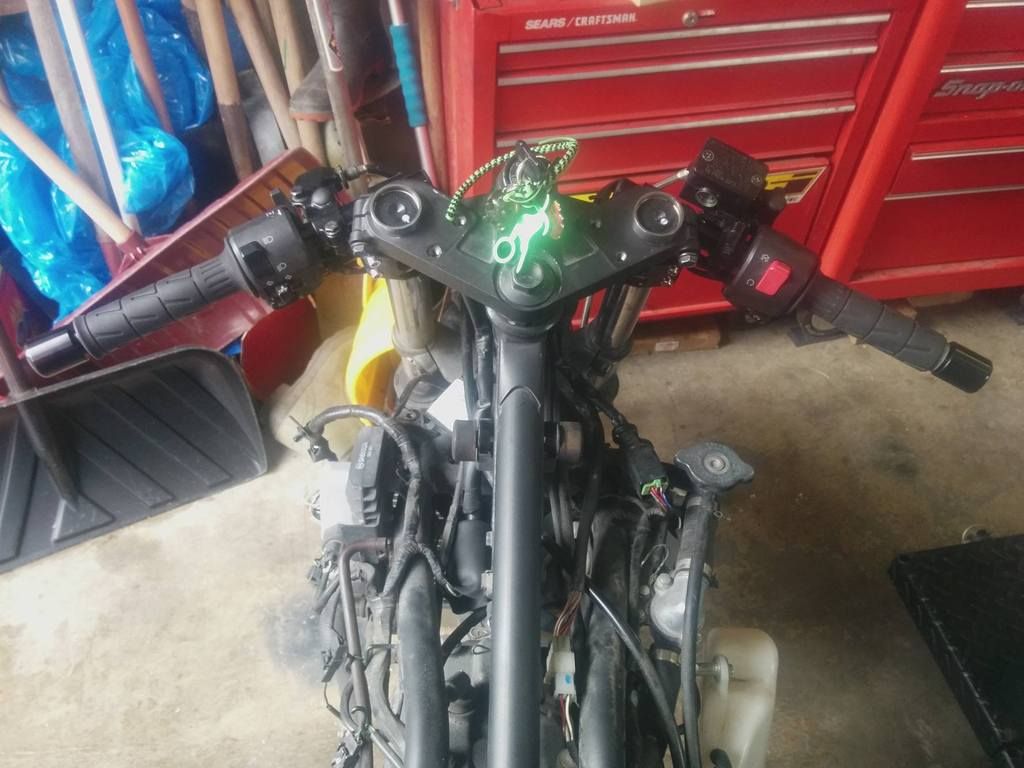
Step 3 - The controlfreak
Okay....shock done, tire's back on, carbs covered, filter ordered ...chain has some surface rust which will be cleaned and lubed later. What next....the clip ons...
Went pretty straightforward till I realized that my bars were all bent to hell so out comes the saw and everything came off.
The clips on from Dime City were a good deal and they seem really sturdy as well. The installation wasn't a problem.......till I realized that my levers were pretty much shot to **** as well soooooooooooordered a pair for myself.
[/URL]
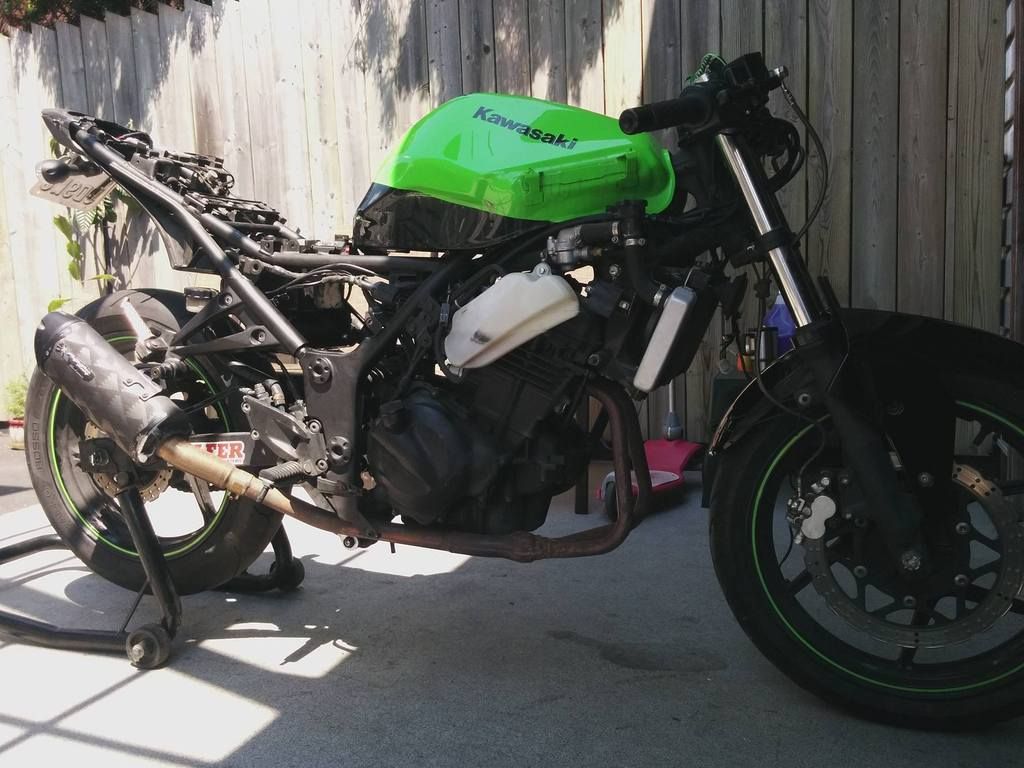
Step 4 - The Tease
Here's is where things start looking better. With the biggest two things done, it was time to start putting her back a bit, so up goes the tank....
All set and good, undertail back on, tires all set, chain rust free, cleaned and lubed, coolant I left for the last along with cleaning the pipes.
Time to get her arse back into place( I know I know, get your minds out of the gutter ;P)
All the cables neatly(as neat as I could have them) tucked inside.
Also the pods came in!!!!
RGB - Achievement Unlocked!! :P
Nyhoo pods in, levers on, mirrors on. Time to cut the fairings.
I had some idea what it was going to look like so I started cutting conservatively, not my best work but I left enough room to sand it smooth tomorrow so that's good.
Got to paint the coolant reservoir as well . Nyhoo so time to get the headlights on.
Stage 5 - So close
Now the mount I got off ebay wasn't going to fit in just like that so like my friend said, time to play Legos.

So I got myself these

Solved the problem more or less, Since we had to mount the gauge as well we only attached the bottom end(quite firmly though).

All connected, all good. LED indicators on the forks.
(yes yes more photographs coming soon)
Time to put on the gauge.......yeaaaahhhh no
Unfortunately, while I could help my friend out while he worked on my bike, I have no idea what the bloody hell to do when it comes to the electrical stuff. He had some urgent and long family obligation so we wrapped things up. Now I got to figure out how to put on the gauge.
Oh well..can't be helped, he did more than I asked him to do. Can't thank him enough.
Nyhoo so I used my phone as a GPS speedometer and took her for a ride.
Couple of things I noticed
1. Handled much better, turned in more sharply(got to get to know her all over again)
2. Love the new raw look, got a few compliments from other riders too but still a ways to go
3. Feels lighter and the rear shock feels so much better.
So all good?
NO, not with my luck.
Things to do
1. Wire up the gauge
2. Make a makeshift mount while waiting for a friend to CNC a better one for you
3. Need to rejet the carbs.
4. Need to get LED relay for the idicators.
At first I thought that her not feeling the same, acceleration and power wise , was because of the old fuel in her but after riding a little bit and talking with a friend I realized that it had some severe jetting issues. I was running wayyyy tooo lean. She was "coughing"at higher RPMS, didn't even get to a 100 without effort. So she is grounded till Friday, that's when the jetting kit comes in.
I was soooooo cclllooooooseeee...
