
|
 June 1st, 2009, 02:24 PM
|
#1 |
|
ninjette.org sage
Name: Tin
Location: NJ
Join Date: Apr 2009 Motorcycle(s): 08 black 250r (sold); '09 black zx6r Posts: 903
|
DIY fender chop
I took the bike out for a long ride on Sat and came home tired and exhauted. On Sunday, my wrists and fingers were hurting so I decided to stay home and frabicate my fender chop.
I decided to use the reflector bracket because it serves as a safty feature plus it also hide the cut on the sides. I went to Lowe's to get a multi purpose drill bit and some t-brackets along with washers. 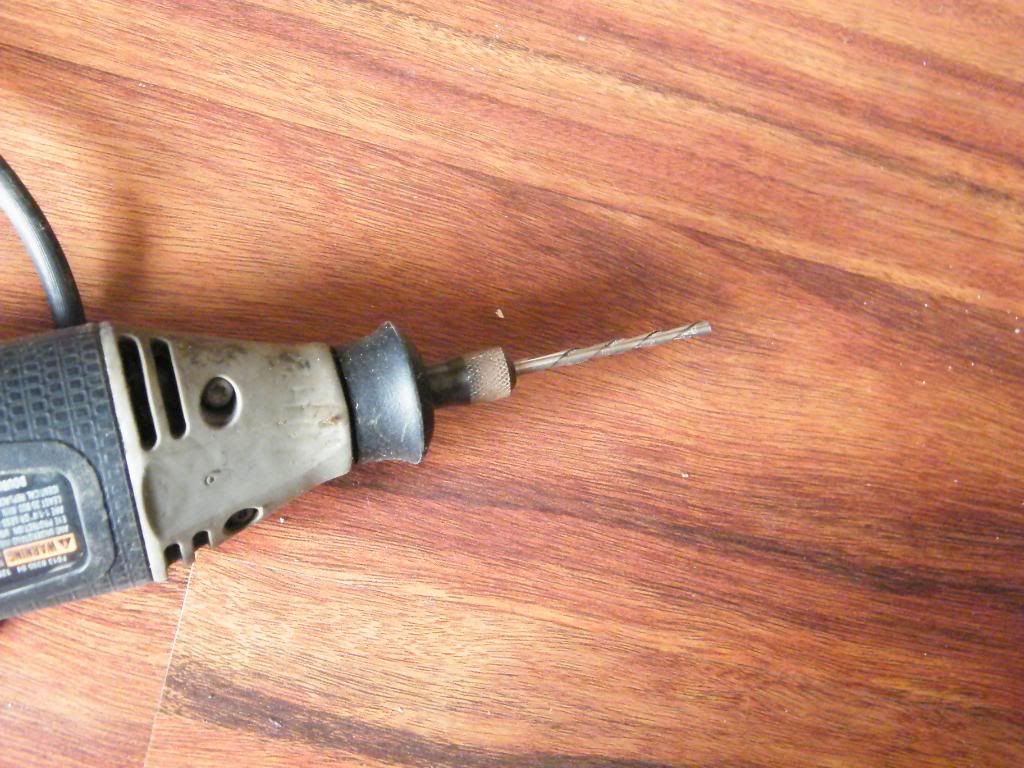 1. use a dremel at medium speed to cut the fender. i found that if you stop and go your cut will not be straight. try to cut in 1 motion. use a sander bit to smooth out the cut. here's what th cut looks like. 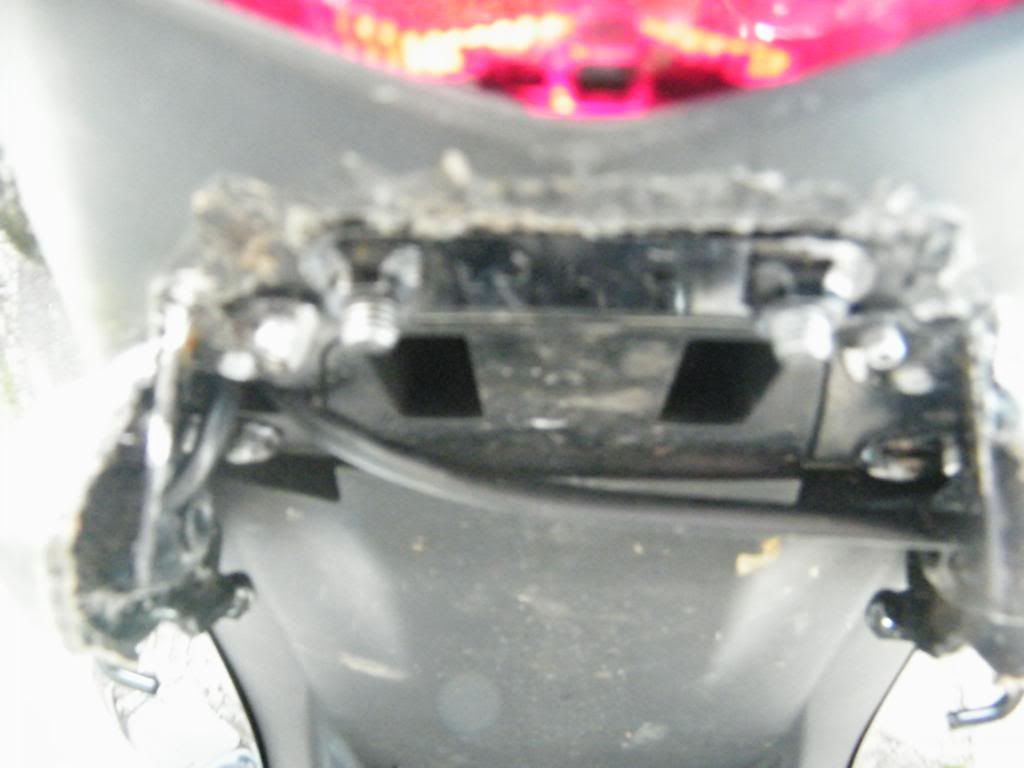 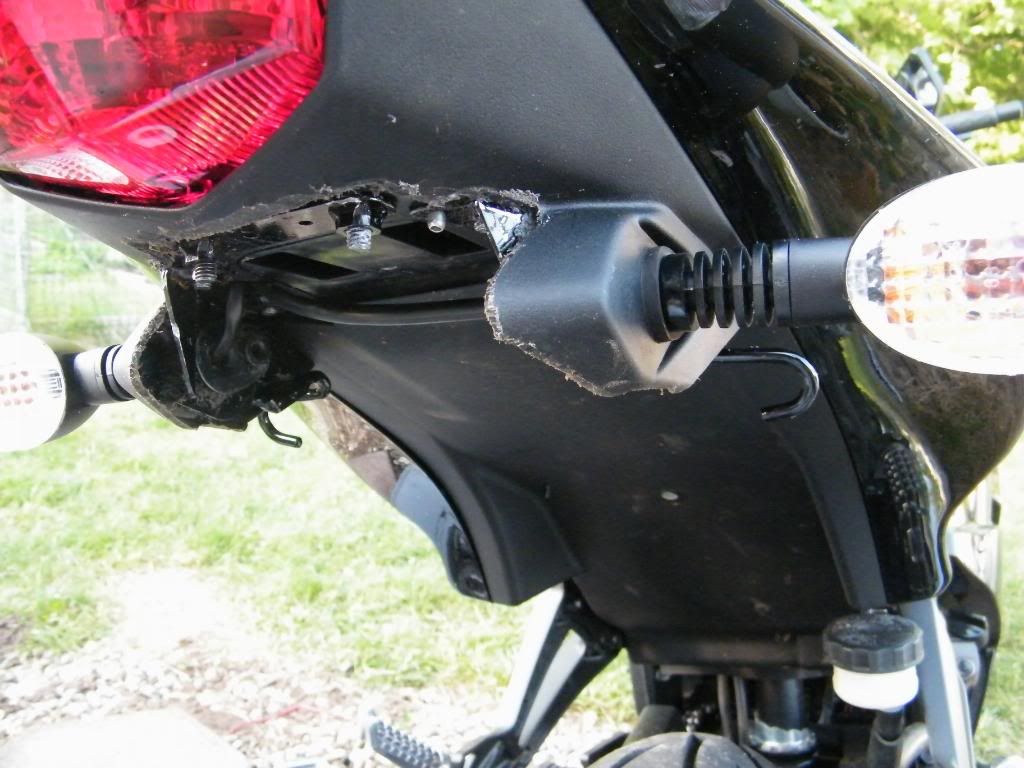 2. bend the t-bracket into an L shape. have to play around with it to get it into the get angel. 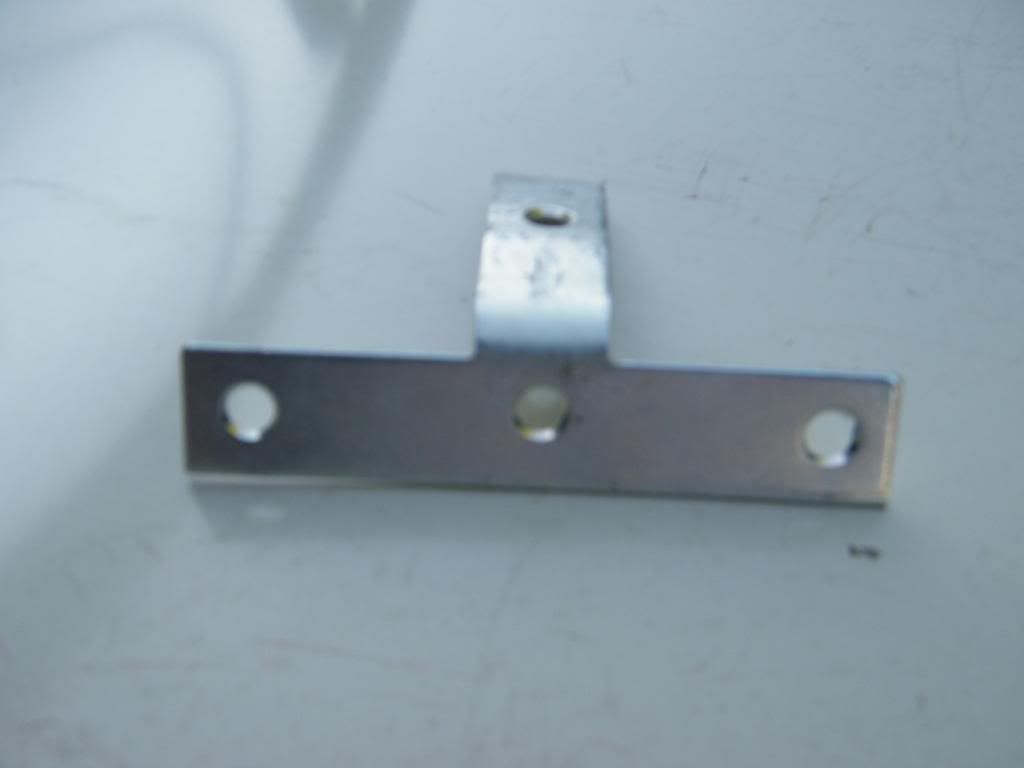 3. mark the now L-bracket with sharpie to drill 2 holes for the bolts because the 3 holes don't line up with the reflector bracket. 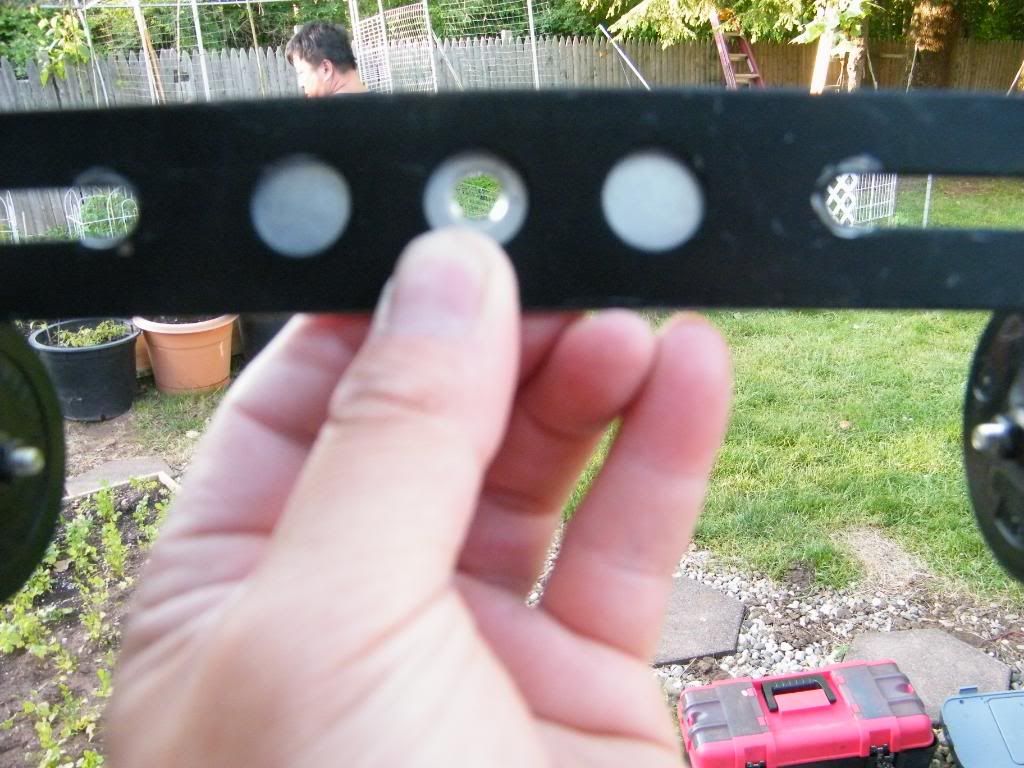 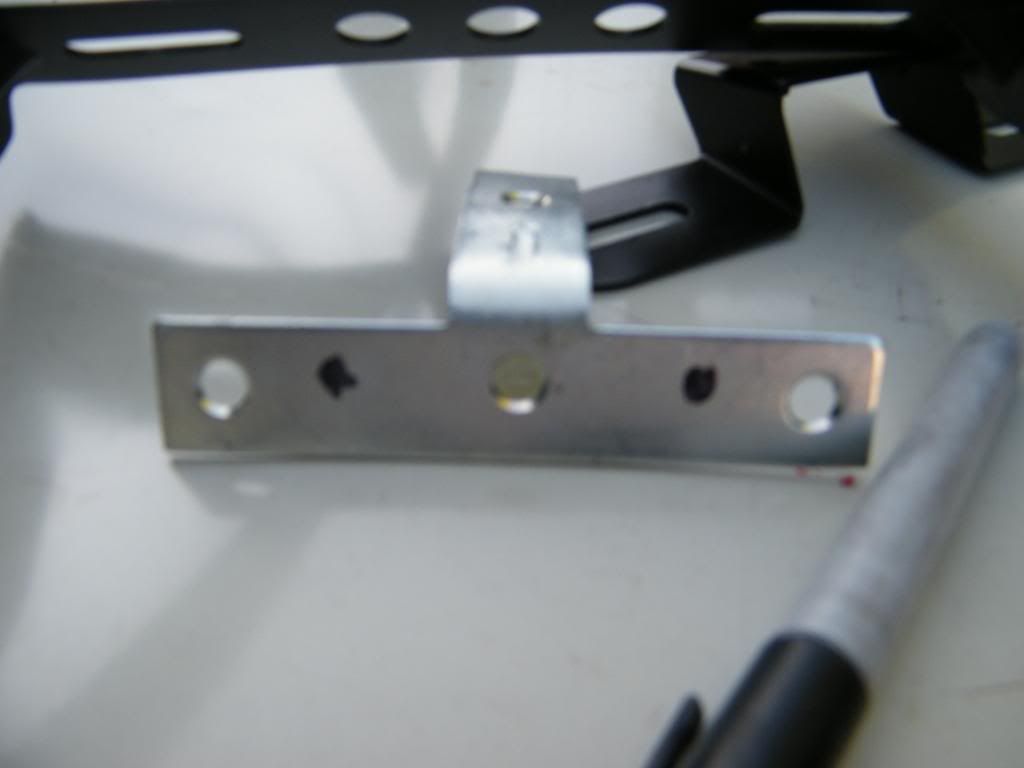 4. i took a piece of wood put it on a chair and drill a sheet rock screw into the center hole to hold the bracket. 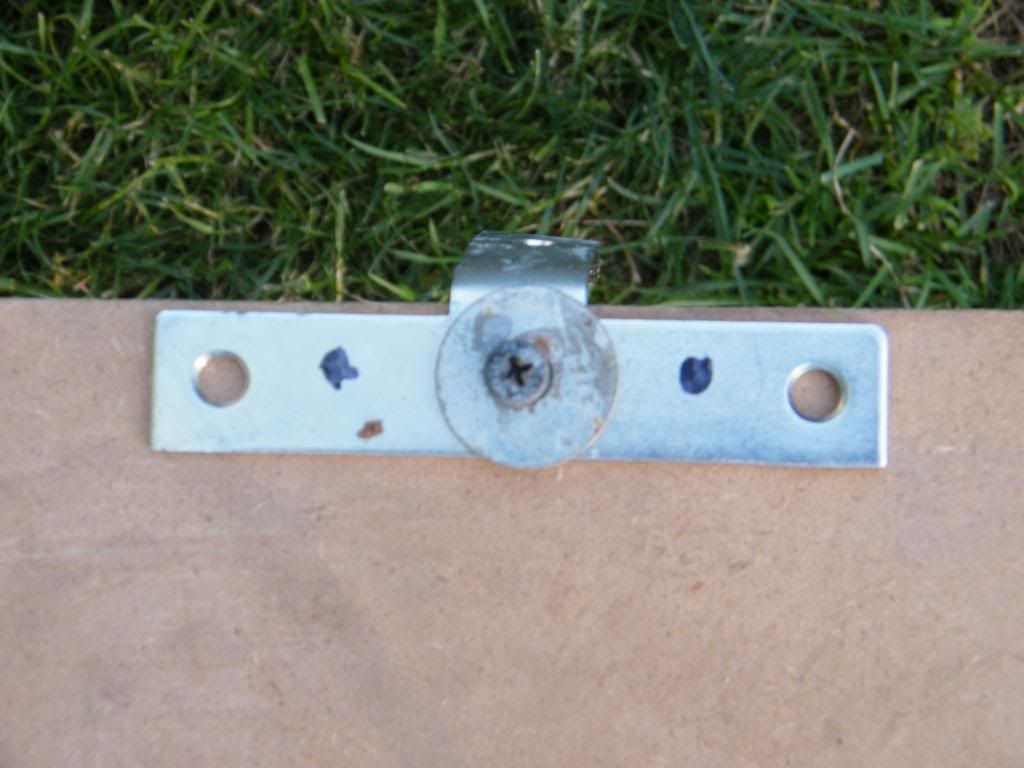 5. use a metal drill bit to drill the 2 holes. 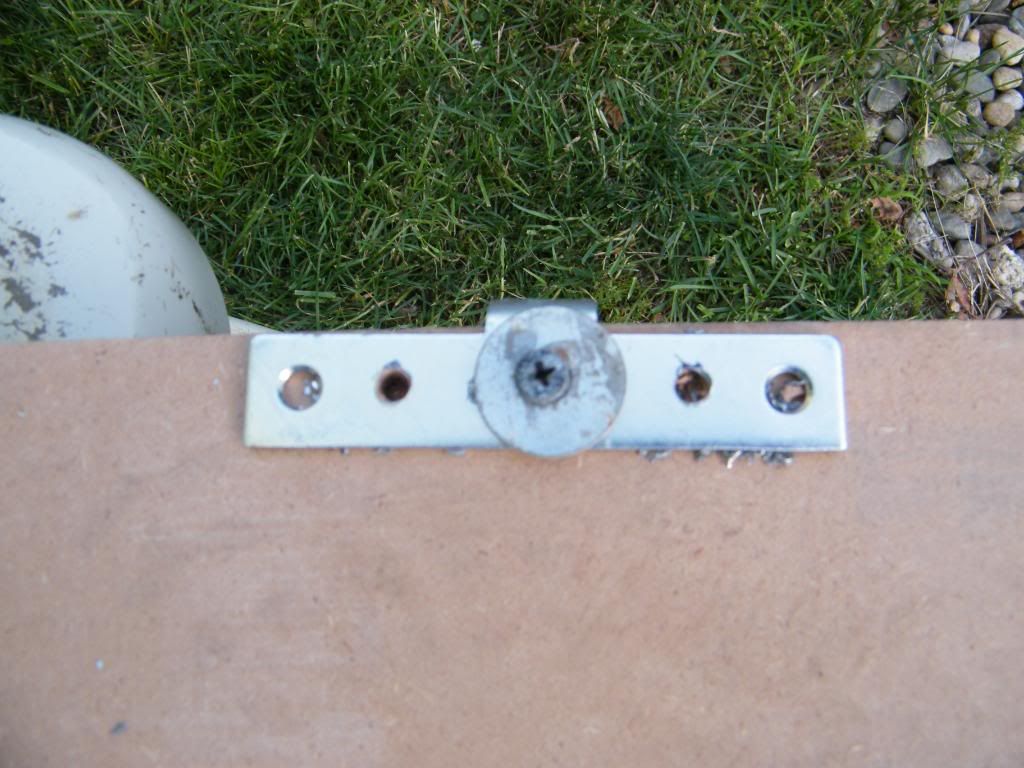 6. bolt the L bracket onto the reflector bracket with 3 bolts. (i changed my design toward the end of he project). 7. hold the reflector bracket up to the rear to mark a hole to bolt the bracket onto the seat compartment. 8. I took a small bit to drill a pilot hole. the tire is in the way so i have to drill at an angel. I then use a bigger bit and drill from the inside of the seat compartment down. this way i will get a straight hole. 9. bolt the bracket onto the compartment. 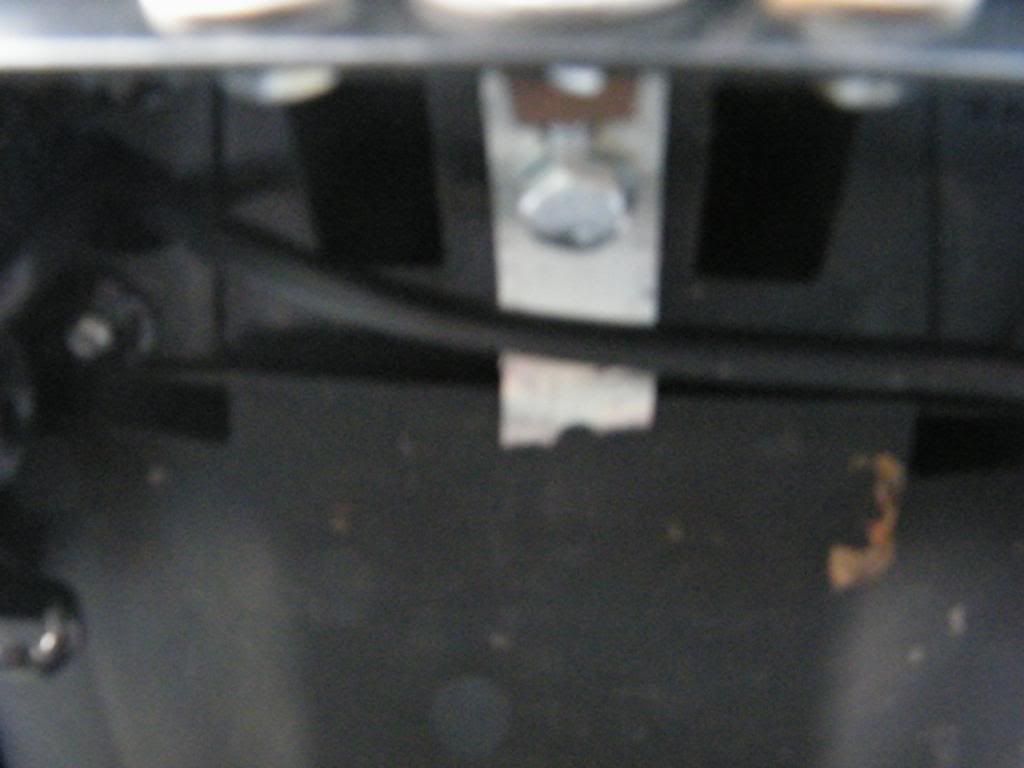 here's what it looks like 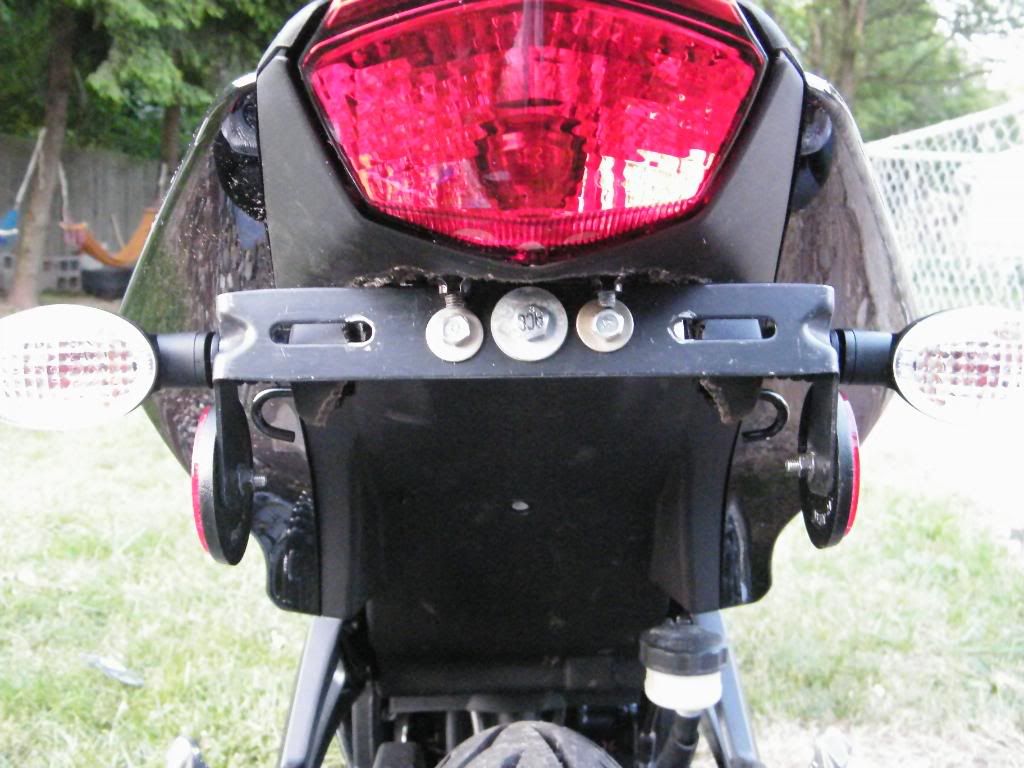 this is when i changed my design cuz i didn't like the 3 bolts on the bracket. I took the pieces to a local shop and asked the guy to weld everything together. $20 dollar for the job. 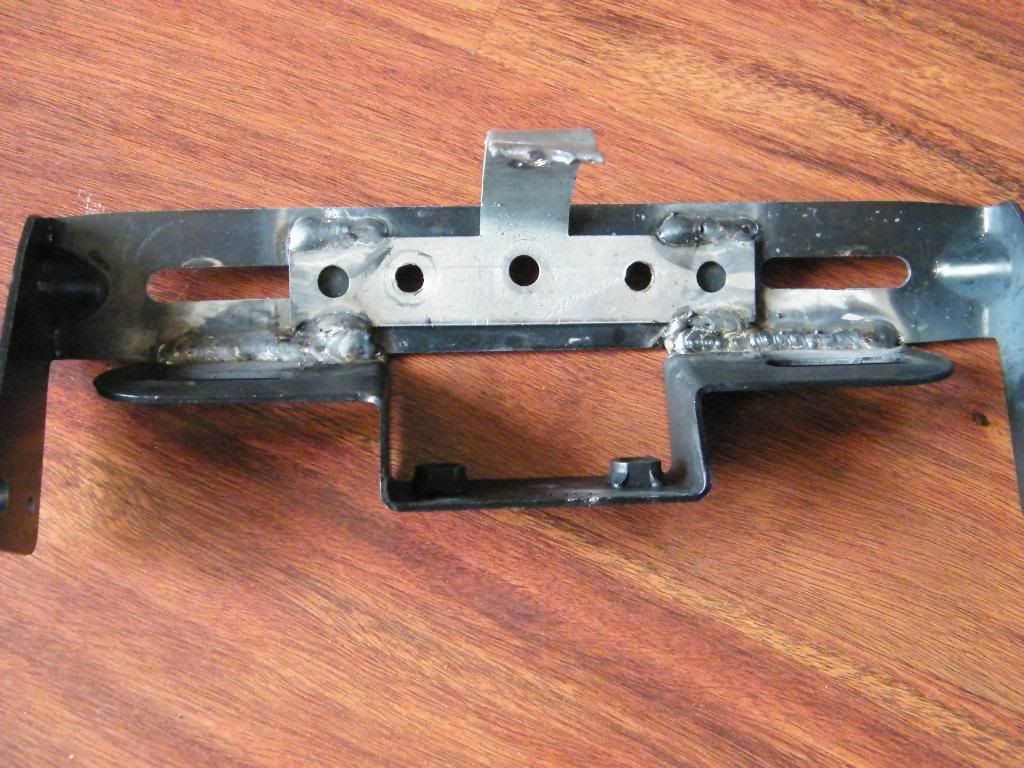 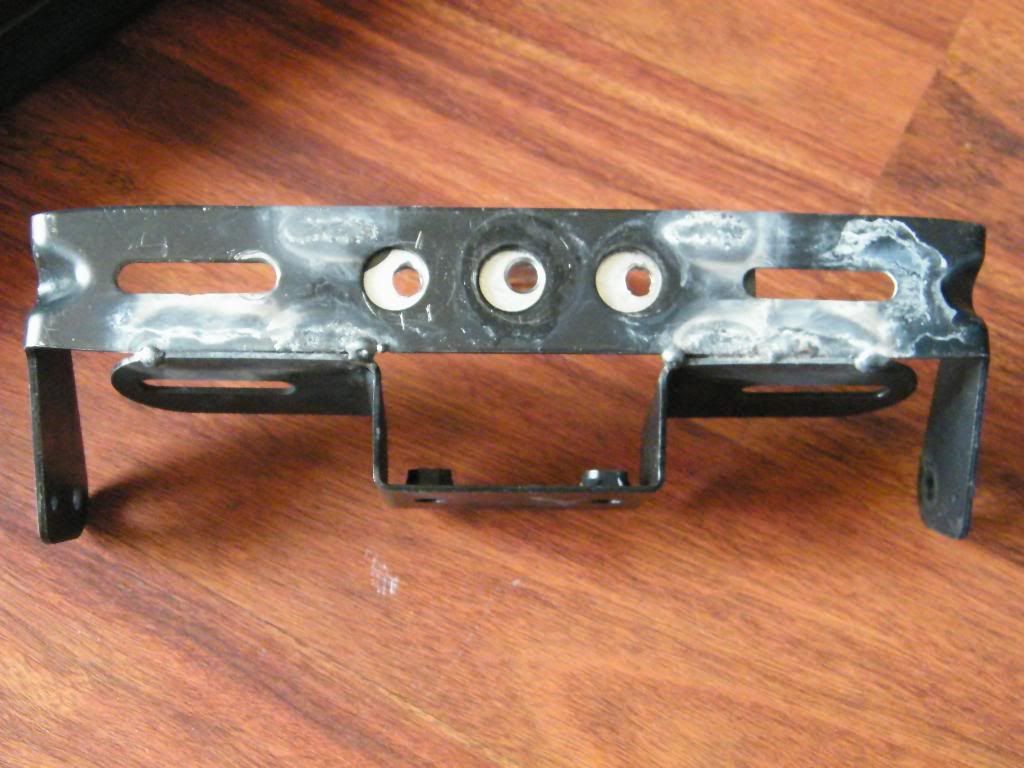 this is what it looks like on the bike 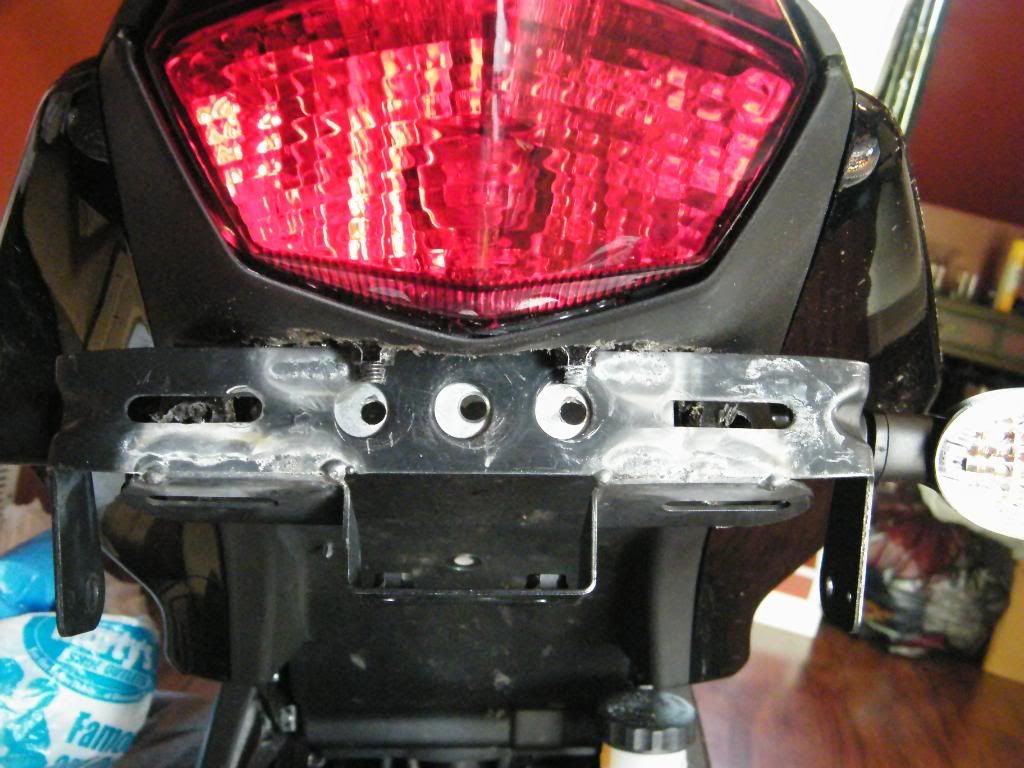 10. i took the led license plate bolts from street glow and screw into the other bracket. i broke one of the bolt that's why one is shorter. 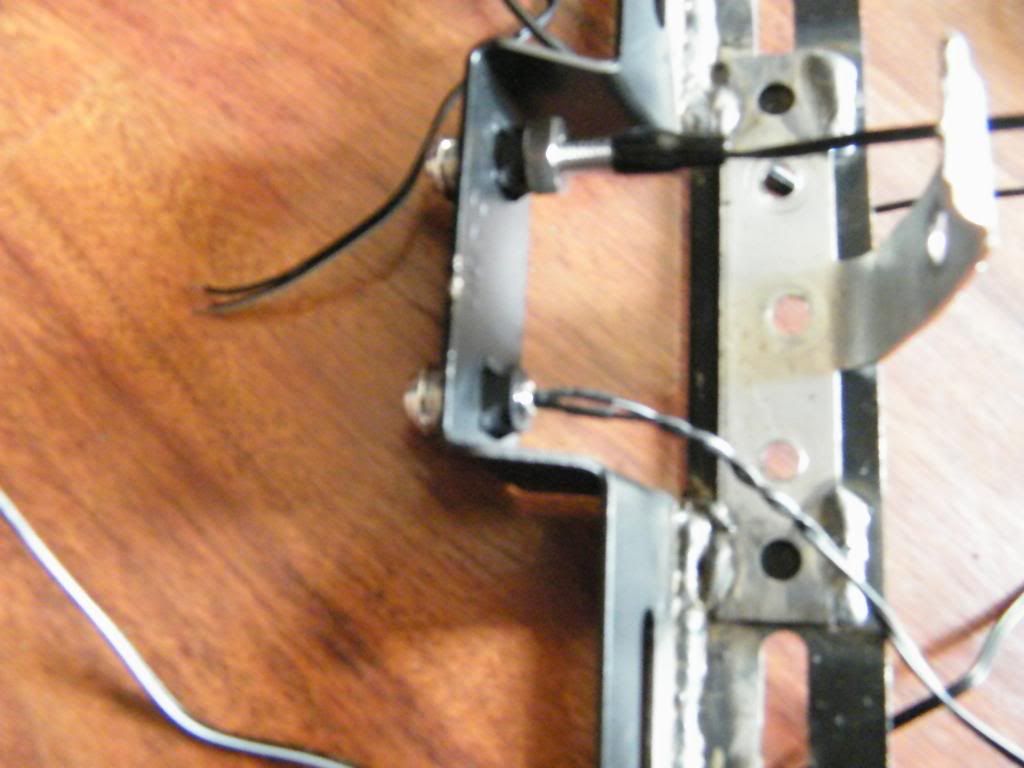 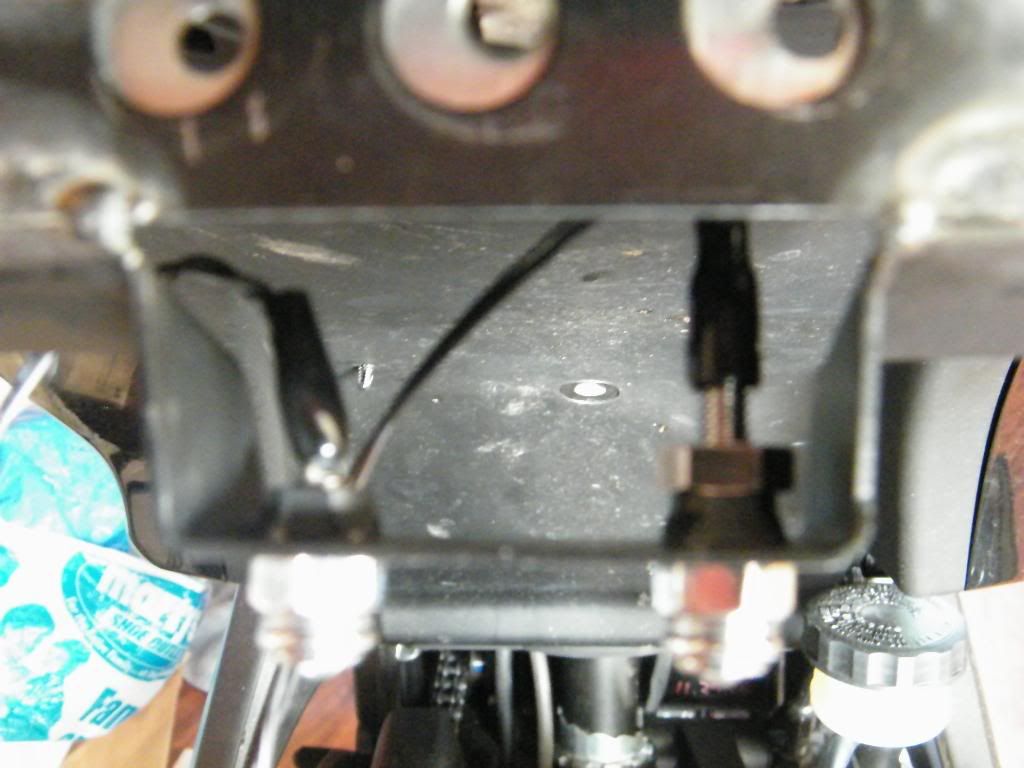 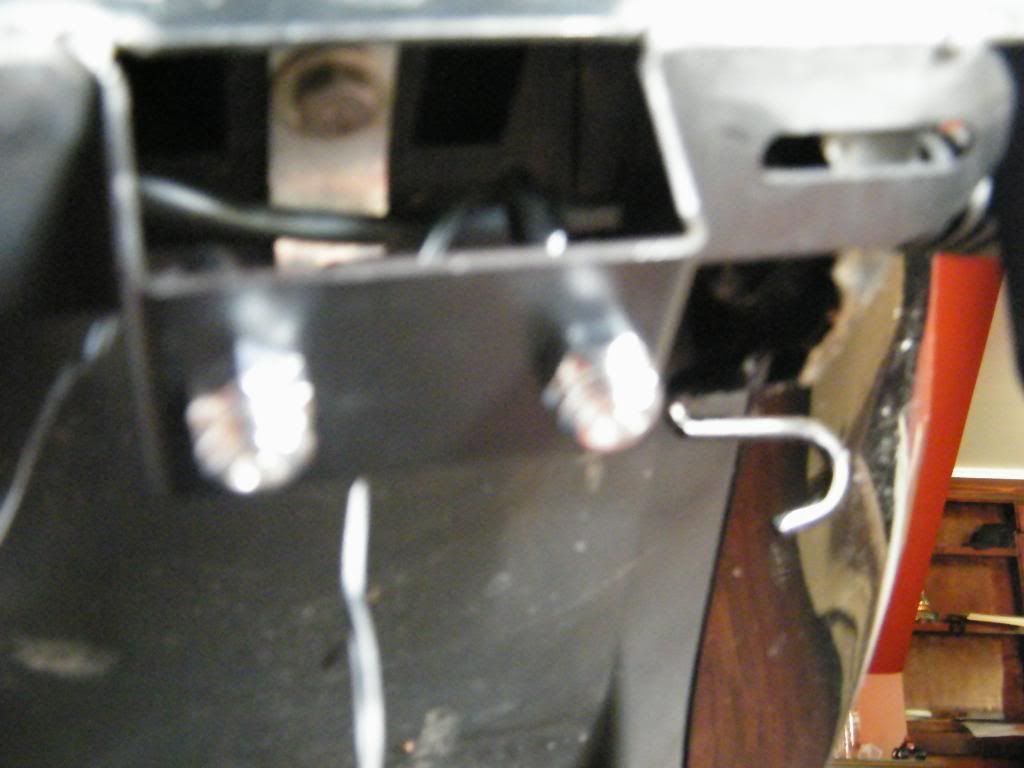 here's the final product. 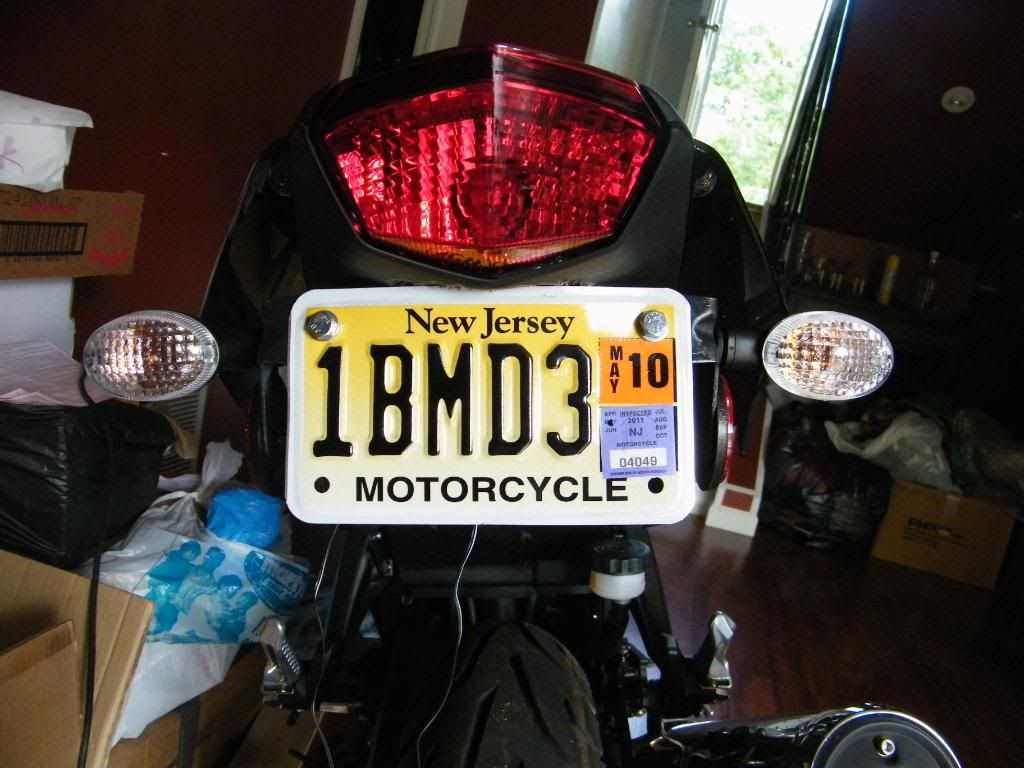 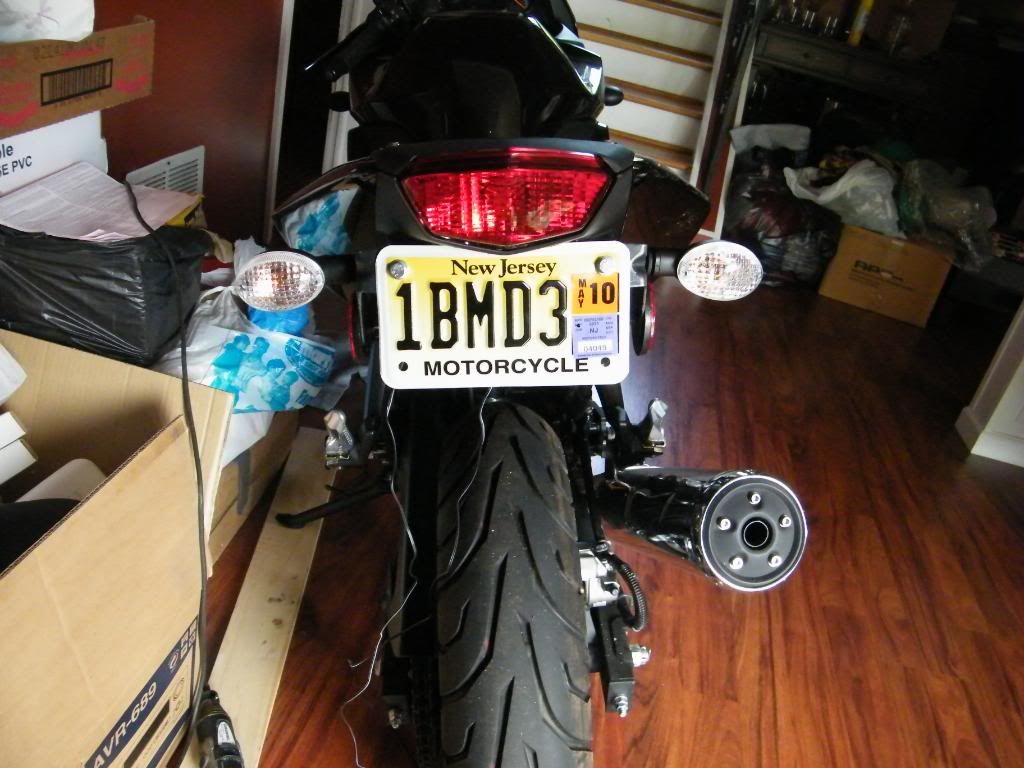 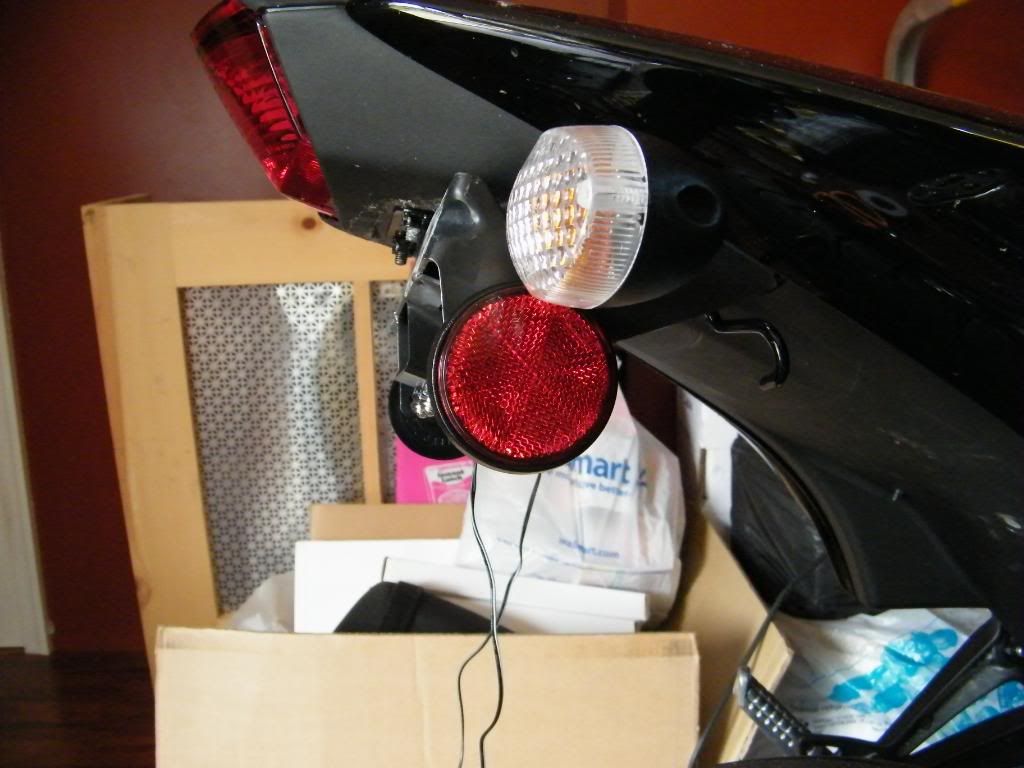 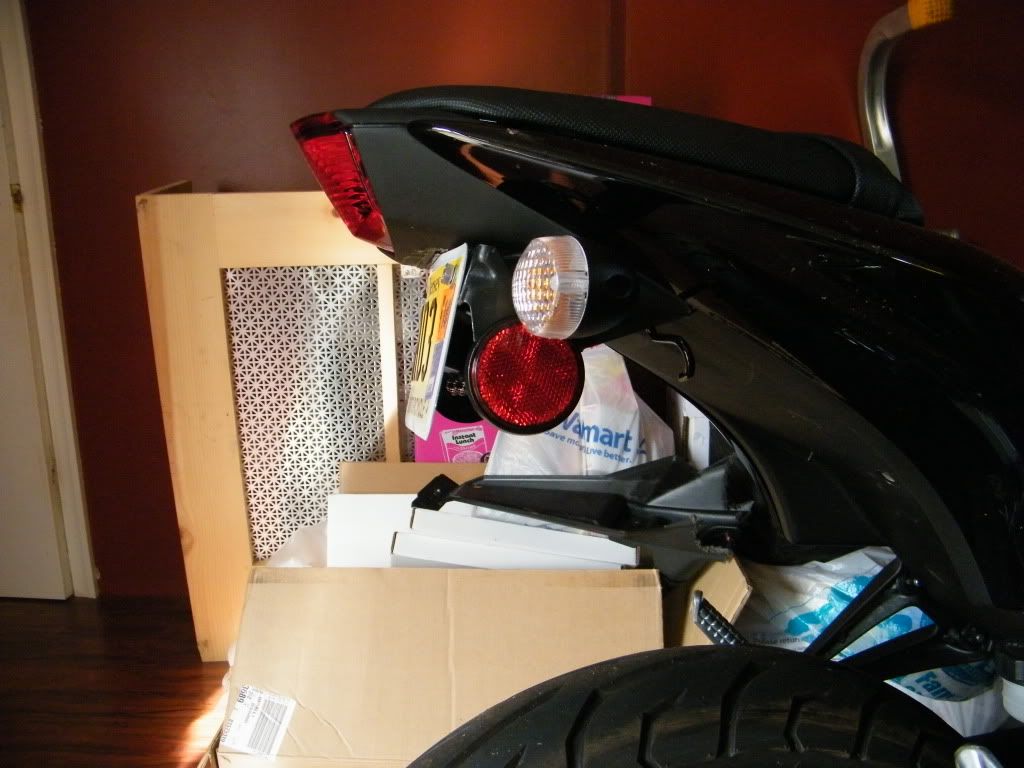 the bolts i used for the license plate don't have light. i'm waiting for these to come home. 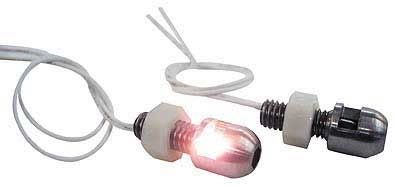
|

|

|
|
June 1st, 2009, 04:17 PM
|
#2 |
|
ninjette.org sage
Name: Tim
Location: Portland, OR
Join Date: Dec 2008 Motorcycle(s): 2009 SE Ninja 250R Posts: 796
|
Nice job! I'm confused though. What are the wires coming out of the bolts if they don't have light?!
|
|
|
|
|
June 1st, 2009, 04:24 PM
|
#3 |
|
ninjette.org member
Name: Dave
Location: South Jerzey
Join Date: Feb 2009 Motorcycle(s): None yet Posts: 181
|
A disc cutter on the dremel will cut allot smoother :P
__________________________________________________
-Dave |
|
|
|
|
June 1st, 2009, 06:41 PM
|
#4 | |
|
ninjette.org sage
Name: Tin
Location: NJ
Join Date: Apr 2009 Motorcycle(s): 08 black 250r (sold); '09 black zx6r Posts: 903
|
Quote:
DSCF04551.jpg DSCF04511.jpg DSCF04611.jpg |
|
|
|
|
|
June 1st, 2009, 06:44 PM
|
#5 | |
|
ninjette.org sage
Name: Tin
Location: NJ
Join Date: Apr 2009 Motorcycle(s): 08 black 250r (sold); '09 black zx6r Posts: 903
|
Quote:
|
|
|
|
|
|
June 1st, 2009, 07:20 PM
|
#6 |
|
ninjette.org member
Name: Dave
Location: South Jerzey
Join Date: Feb 2009 Motorcycle(s): None yet Posts: 181
|
Thats where we ave to sacrifice quality, if your really anal about looks you can get down and dirty with the sander or something, maybe you could use a sanding attachment on the dremel :P
__________________________________________________
-Dave |
|
|
|
|
June 2nd, 2009, 04:24 AM
|
#7 |
|
============
Name: Nick
Location: Occoquan, VA
Join Date: Nov 2008 Motorcycle(s): '09 Ninja 250R Posts: 518
|
And i read recently that you can smooth it out even more after sanding with a lighter
|
|
|
|
|
June 2nd, 2009, 07:56 AM
|
#8 | |
|
ninjette.org sage
Name: Tin
Location: NJ
Join Date: Apr 2009 Motorcycle(s): 08 black 250r (sold); '09 black zx6r Posts: 903
|
Quote:

|
|
|
|
|
|
June 2nd, 2009, 10:24 AM
|
#9 | |
|
ninjette.org certified postwhore
Name: Travis
Location: Warwick, RI
Join Date: Apr 2009 Motorcycle(s): 2009 Ninja 250R Posts: A lot.
|
Quote:
__________________________________________________
Addicted to anything that has an engine and rolls. 
|
|
|
|
|
|
June 2nd, 2009, 11:25 AM
|
#10 | |
|
ninjette.org certified postwhore
Name: Joe
Location: Buffalo NY
Join Date: Jan 2009 Motorcycle(s): 08 Ninja 250 "Wasabi", 82 Yamaha xj650j Posts: A lot.
|
Quote:
") I just posted a stinkin DIY on this. I had it up on my PC for a couple o days working on it here and there. I wasnt checking threads so I completly missed this. 
__________________________________________________

|
|
|
|
|
|
June 2nd, 2009, 12:56 PM
|
#11 | |
|
ninjette.org sage
Name: Tin
Location: NJ
Join Date: Apr 2009 Motorcycle(s): 08 black 250r (sold); '09 black zx6r Posts: 903
|
Quote:
Could you please change your avatar. You're making me hungry bro.
|
|
|
|
|
|
June 2nd, 2009, 12:59 PM
|
#12 |
|
ninjette.org certified postwhore
Name: Joe
Location: Buffalo NY
Join Date: Jan 2009 Motorcycle(s): 08 Ninja 250 "Wasabi", 82 Yamaha xj650j Posts: A lot.
|
mm mm m. mouth watering
 Im going to change it soon though.
__________________________________________________
|
|
|
|
|
November 27th, 2009, 12:10 AM
|
#13 |
|
ninjette.org newbie
Name: Walid
Location: Toronto
Join Date: Nov 2009 Motorcycle(s): 2009 Ninja 250R Posts: 5
|
Cool best DIY on the subject I've found so far. Nice work man!
|
|
|
|
|
November 29th, 2009, 02:03 AM
|
#14 |
|
ninjette.org member
Name: Rich
Location: Dirty South
Join Date: Oct 2009 Motorcycle(s): 2009 Sunbeam Red Ninja 250R Posts: 10
|
Good job. And it is a pretty good DIY, as far as the best you have found so far, I hope U didnt look too hard. Theres literally about 50 of these, alot are in this thread... http://www.ninjette.org/forums/showthread.php?t=964
|
|
|
|
 |
 Similar Threads
|
||||
| Thread | Thread Starter | Forum | Replies | Last Post |
| I had to chop off the rear fender!!! | dark_beaverezt | Pictures | 7 | January 10th, 2012 04:05 PM |
| My $0.00 Fender Chop | nate-bama | 1986 - 2007 Ninja 250R Farkles | 32 | September 29th, 2010 05:18 PM |
| DIY Fender Chop | ejunk81 | Pictures | 0 | July 2nd, 2010 11:52 AM |
| DIY Fender Chop | Tubesock | 2008 - 2012 Ninja 250R Farkles | 20 | May 18th, 2009 11:47 PM |
| DIY: Pregen Fender Chop/Flush mount turn signal mod | brian997 | 1986 - 2007 Ninja 250R Tech Talk | 8 | March 29th, 2009 09:37 AM |
|
|


